Acrylic paint can be used For many different kinds Of art projects. If the seals are tight enough, They can also be used outside. Sealing acrylic paint ensures it lasts longer, stays protected from the weather, and has a smooth finish, whether you’re working on outdoor furniture, yard ornaments, or paintings. This complete guide talks about the best ways to seal acrylic paint for outdoor use, the supplies and tools you’ll need, and it gives you helpful advice for getting professional results.
Understanding Acrylic Paint and Its Properties
Acrylic paint is a water-based medium known for working quickly, having bright colors, and being helpful in many ways. It comprises pigments mixed With an acrylic polymer solution For metal, Plastic, wood, fabric, and paper. When acrylic paint dries, it becomes a tough, flexible film that won’t crack. However, it stays slightly porous, absorbing wetness if left unsealed. This is why finishing acrylic paint is so important for projects that will be outside. It makes it more resistant to UV rays, rain, and changing temperatures so that the results will last longer.
Why Seal Acrylic Paint for Outdoor Use?
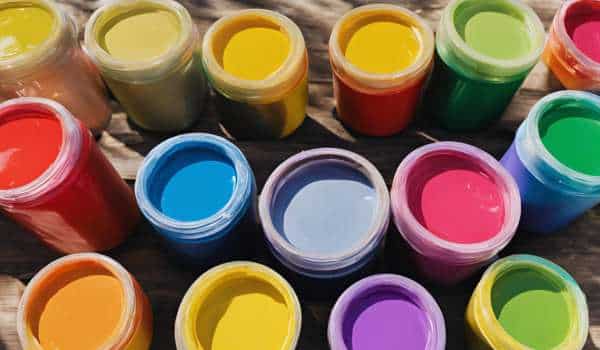
Sealing acrylic paint for outdoor projects is essential for several reasons. First, sealing offers weather protection, keeping the paint from harsh circumstances like rain, sun, and snow. It also gives UV protection, reducing fading caused by prolonged sun contact. A sealed surface ensures durability, stopping chipping, peeling, and cracking due to moisture or temperature changes. Finally, sealing improves the project’s look, giving it a polished, shiny, or matte finish that stands out.
Materials You Will Need

- Acrylic Paint: Already applied and dried on your project.
- Sealant: Options include Polyurethane, Polycrylic, or Acrylic Sealer Spray.
- Brush or Sponge: For manual application of the sealant.
- Sandpaper: Optional for prepping uneven surfaces.
- Masking Tape: To protect areas you don’t want to seal.
- Clean Cloth: To remove dust and dirt before sealing.
Step-by-Step Guide to Seal Acrylic Paint for Outdoor Use
Step 1: Prepare Your Surface
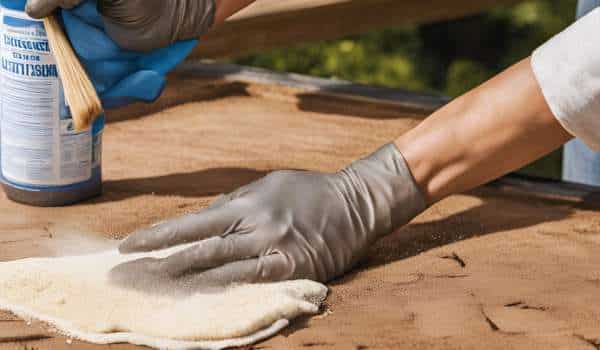
Start by preparing the painted area to ensure proper bonding of the sealant. Clean the area thoroughly with a wet cloth to clear dust, grease, or debris. Let it dry fully, as small wetness can interfere with sealing. If the surface is rough, lightly sand it to make a smooth base for the sealant.
Step 2: Choose the Right Sealant
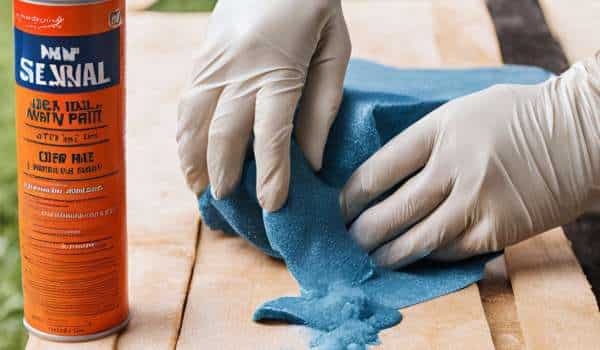
Different sealants work better for specific types of projects. Polyurethane is ideal for furniture and heavily used items, while Polycrylic offers a water-based, less toxic alternative. Acrylic Sealer Spray provides convenience and even coverage for smaller or intricate projects. Always read the label to ensure the sealant is suitable for outdoor use.
Step 3: Test the Sealant
Add the sealant to the job and test it on a small, inconspicuous spot. This step ensures the sealant doesn’t damage the paint or cause unexpected responses.
Step 4: Apply the Sealant
Apply the sealant using your chosen method:
- Brush or Sponge Application: Use a clean brush or sponge to apply the sealant in thin, Even layers. Allow each layer to dry entirely before applying the next. Two to three layers usually provide optimal protection.
- Spray Application: Hold the spray can 8-12 inches from the surface And apply a thin coat with smooth, Sweeping motions. Repeat the process for two To three layers, Letting each coat dry before applying the next.
Step 5: Drying and Curing
Let the sealed project dry for at least 24-48 hours. For maximum durability, allow the sealant to cure fully for up to a week before exposing the item to outdoor elements.
Tips for Achieving the Best Results

- Avoid Humid Conditions: High humidity Can cause the sealant To dry unevenly Or look cloudy.
- Work in a Ventilated Area: This is especially important when using spray sealer To avoid breathing fumes.
- Apply in Layers: Thin layers dry more evenly And prevent popping or streaks.
- Protect Unpainted Areas: Use masking tape To cover any areas you don’t want to seal.
Adding a Decorative and Functional Finish
A unique touch your competitors may overlook is combining sealing with a decorative effect. Consider using a tinted sealant or mixing glitter into a clear sealant to add sparkle and texture. For outdoor furniture or garden decor, you can apply a stencil design with the sealant for a custom finish that simultaneously protects and enhances aesthetics.
Another advanced method is using a dual-layer approach. After applying a base sealant for weatherproofing, top it with a UV-protective gloss varnish to achieve both durability and a professional shine.
Creating a Maintenance Routine
Maintaining protected outdoor projects ensures they last even longer. Regularly clean the surface with a wet cloth to remove dirt and debris. For high-exposure places, reapply a fresh coat of sealant every year to maintain protection. Including this upkeep tip in your projects adds value that many guides ignore.
Common Mistakes to Avoid

Avoid these common pitfalls when sealing acrylic paint:
- Skipping surface prep can lead to poor adhesion.
- Rushing the drying process results in a tacky or uneven finish.
- Using the wrong type of sealant for outdoor conditions.
Best Sealants for Outdoor Acrylic Projects
- Krylon UV-Resistant Clear Spray: Good for projects needing UV protection.
- Minwax Polycrylic Protective Finish: A flexible water-based choice for a clear finish.
- Rust-Oleum Painter’s Touch Clear: Durable for heavy-duty outdoor things.
- Liquitex Professional Varnish: A professional-grade choice for artistic uses.
How Do I Seal Acrylic Paint on Wood?
Seal acrylic paint on wood requires sufficient preparation, as wood is porous and absorbs moisture. First, sand the wood to achieve a smooth surface, then clean it with a moist cloth to eliminate dust. Apply a wood primer to establish a substrate for the paint to adhere appropriately. After painting, use a wood-specific sealer like polyacrylic or clear polyurethane, and apply thin, even coats with a clean brush. Allow each layer to dry well before adding the next. For outdoor applications, add three or four coats for optimal durability. Let the sealed item cure for at least 48 hours before using it outside.
FAQs
Can I use Mod Podge to seal acrylic paint for outdoor use?
Yes, Mod Podge offers an outdoor solution for light-duty sealing. However, it’s less durable than polyurethane or acrylic sprays.
How long does sealed acrylic paint last outdoors?
Sealed acrylic paint can last several years, depending on weather exposure and wear.
Is spray sealant better than brush-on sealant?
Spray sealants provide even coverage and are ideal for smaller projects, while brush-on sealants are better for larger surfaces.
Can I seal acrylic paint on plastic or metal?
Yes, but ensure the surface is primed beforehand, and use a sealant designed for the material.
Conclusion
Sealing acrylic paint for outdoor use is a straightforward yet vital process to protect your projects from weather, UV rays, and wear. Choosing the right sealant and applying it correctly ensures your artwork or DIY projects maintain their vibrancy and durability for years. Whether an artist or a DIY enthusiast, this guide provides everything you need to achieve professional results.


