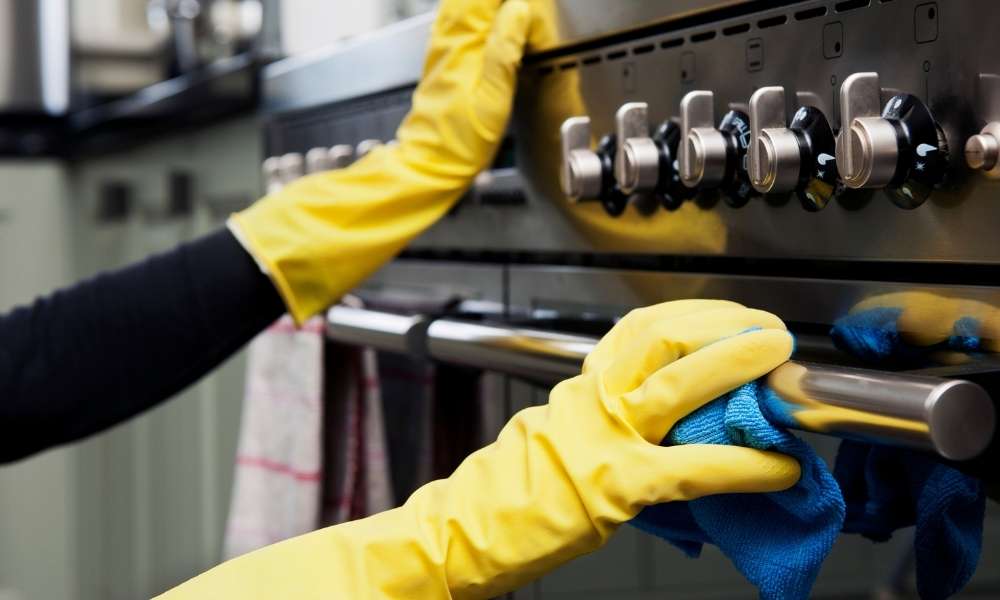
Maintaining your kitchen faucet clean Is vital To ensure consistent And clean water flow through your kitchen. As time passes minerals dirt, grease, and dirt may build up on the faucet’s head, impacting the performance as well as appearance. In this article, We’ll walk you through the steps needed how To clean kitchen faucet head And restore it To its top state. With just a few tricks and household products readily available to help you clean limescale buildup and have the appearance of a functional, sparkling faucet. Get rid of blocked drains and low pressure, and welcome to a beautiful kitchen fixture.
What Is On Your Faucet
Do you have any idea About what’s hiding under the faucet? Your bathroom Or kitchen faucet may look clean. But it may Be home to A myriad of toxins. Over time mineral deposits as well as rust, bacteria and even soap traces may build up on the surface of your faucet. These undesirable substances not only alter the appearance Of the faucet But also affect the water’s quality And flow. Regularly cleaning your faucet Is vital To ensure A secure And reliable water supply.
Why Clean The Kitchen Faucet Head
Cleaning the faucet In the kitchen Is an essential job that goes beyond aesthetics. The accumulation of dirt, mineral deposits, and bacterial growth could cause a reduction in circulation. The pressure can hinder the effectiveness Of everyday tasks such as washing dishes and cooking. In addition, This buildup could reduce the quality Of water that flows through the faucet, Creating impurities in your drinks And food. Not cleaning the faucet’s heads Can make it A perfect breeding place For harmful microbes. So, Regular cleaning isn’t just about keeping An attractive kitchen. But also making sure you have A safe And reliable water supply For your family.
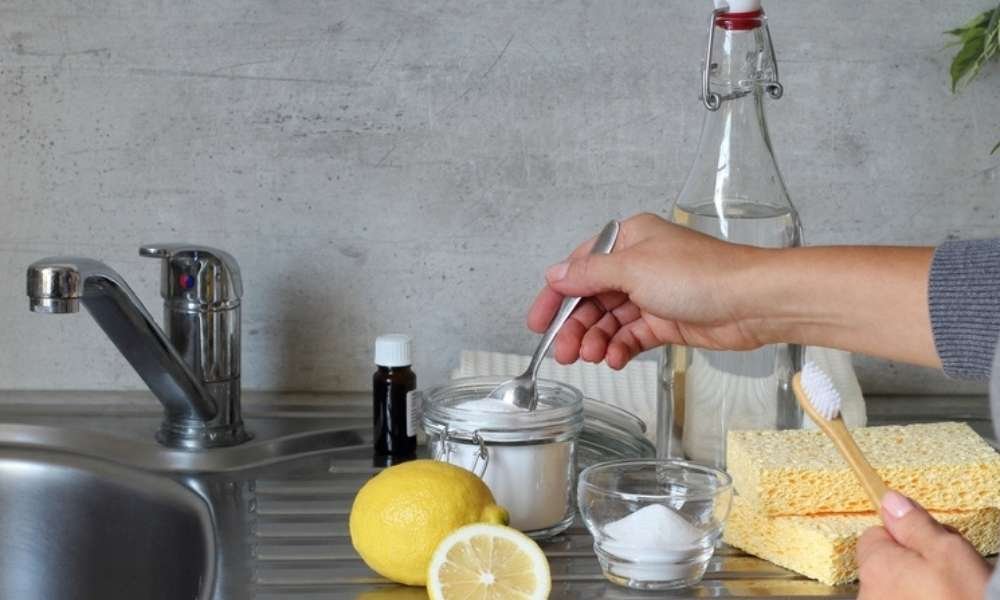
Materials You Need
- White Vinegar
- Baking Soda
- An Old Toothbrush or Small Brush
- A Plastic Bag or Rubber Band
- A Cloth or Paper Towels
- Warm Water
- A-Basin or Bowl
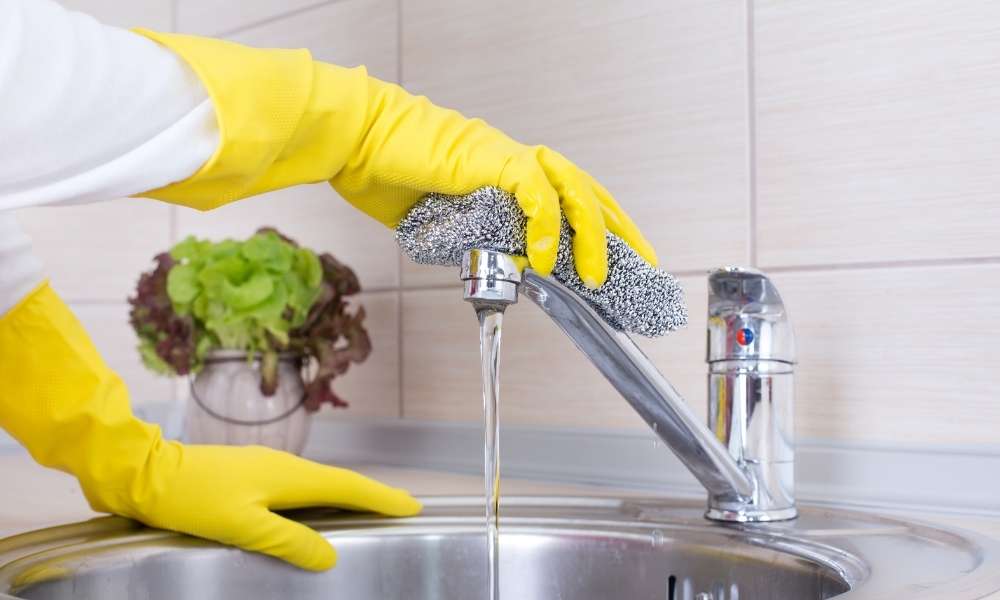
01. Turn Off The Water Supply
When you are ready To clean your kitchen faucet it Is crucial To turn off the water source. This is A crucial precaution To avoid any unintentional water flow when you’re cleaning the tap. Find the shut-off valves under the sink, Typically on the water lines that connect to the tap. Rotate these valves clockwise until they’re completely shut. Once the water supply has been turned off. You are able to proceed without fear, knowing there won’t be any sudden water flow in your cleaning procedure.
02. Vinegar Solution
Cleaning the kitchens using vinegar Is an easy And efficient method To get rid of minerals And restore their function. Start by mixing equal parts of warm water and vinegar with a bowl or basin. After that, soak a towel or paper towel in the solution of vinegar. Then, place the cloth that has been soaked over the faucet’s head, making sure that it covers all affected areas.
Utilize a plastic bag or elastic bandage to hold the cloth and allow it to sit for around 30 minutes. The vinegar’s acidity breaks Into deposits Of minerals. After that, take the cloth off and scrub the faucet using a brush or a small one to remove any particles, then wash by using hot water. This procedure not only keeps the faucet’s surface clean But also ensures An optimal flow Of water And quality.
03. Using Baking Soda To Clean A Faucet Head
Baking soda can be a flexible and natural cleaner that is highly efficient in washing the faucet in your kitchen. To make use of baking soda for this purpose, begin by creating the paste. Mix baking soda and the water in a small amount until it is a firm spreading paste. Apply the paste on the faucet’s head, making sure all affected areas are completely covered.
Use a toothbrush from the past or a small brush to clean the faucet head gently. Baking soda works as an abrasive mild enough to help wash away mineral deposits, stains, and dirt. Make sure you look out for the nooks and crevices in which the buildup could be hidden.
After scrubbing, rinse the faucet head thoroughly using warm water to get rid of the baking soda left over. The result will be A sparkling And clean faucet head that looks amazing But also functions perfectly. This method Is environmentally friendly And doesn’t require harmful chemicals. This makes this A non-toxic And efficient cleaner For the kitchen sink head.
04. Head With Lemon
Cleansing your faucet by using lemon juice is a refreshing and green way to get rid of mineral deposits and unattractive staining. For starters take a slice of A lemon, Cut it in half, Then squeeze the juice into a small container. Soak a sponge Or cloth in the juice of the lemon and then apply it to the faucet’s head making sure that all areas affected are completely covered.
Let the natural acidity of the lemon perform its magic for approximately 10-15 minutes. Then you can gently scrub the faucet’s surface with a toothbrush that is old or a a soft brush to loosen deposits. Then, wash the faucet head well with warm water leaving behind a clean free of odor and mineral fixture that appears great, but also works perfectly.
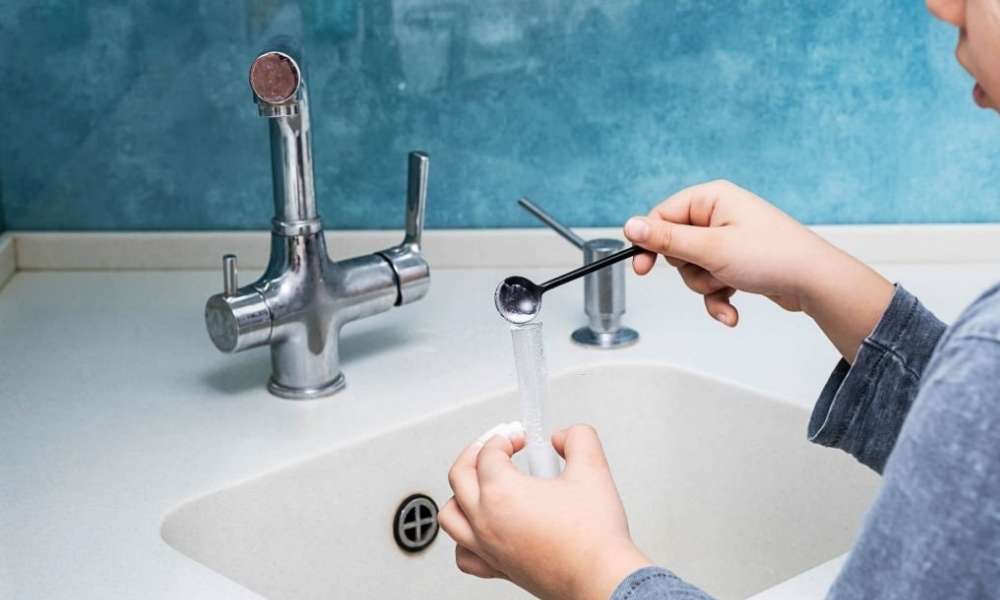
05. Head With CLR
Cleansing a faucet head using CLR (Calcium, Lime, and Rust removal) is a great method to get rid of stubborn mineral deposits. Start by taking off the faucet’s head if it is possible according to the instructions of the manufacturer. Then dilute CLR by adding water according to the instructions of the product, generally in a 1:1 ratio. Immerse the faucet head in water or put it into containers filled with the dilute CLR solution, making sure it’s completely submerged.
Allow it to soak for the suggested time usually about a couple of minutes. After soaking, scrub your faucet’s head gently using an old brush or toothbrush to remove particles that have escaped. Then, rinse it using water to get rid of any remaining CLR. Connect the faucet’s head and you’ll have sparkling and limescale-free fixtures. Restore proper water flow along with the appearance and look of your bathroom or kitchen. Be sure to adhere to the safety guidelines that are listed on the CLR product label.
06. Scrub The Filter With a Toothbrush
For a thorough clean of the faucet head make sure to clean the filter using your toothbrush. After taking the head out of the cleaning solution you have chosen take it out of the solution. Next, grab your old brush and lightly scrub it over. Pay attention towards the mesh, or screens since this is the place where mineral deposits and dirt tend to build up. Utilize a back-and-forth movement to remove any residue. Take care not to damage the filter. After you’ve scrubbed your filter well, wash it in warm water to eliminate any loose particles. This helps maintain the proper flow Of water And enhance the overall performance.
07. Clean Soft Stains With Water
To remove stains that are soft on the, an easy solution is to use only water. Start by washing them using warm water to get rid of any loose particles. Next, Grab either A sponge or A clean cloth and moisten it with warm water. Carefully wipe the areas affected by the using a damp sponge or cloth using slight pressure when necessary.
Repeat this process until the stained areas are completely eliminated. Rinse the once again with warm water to make sure that the residue is completely gone. This method Can efficiently remove small stains And preserve the look And appearance of the faucet, Without the necessity Of harsh chemicals.
08. Clean Green Deposits With Ammonia
If you’re faced with constant green deposits on, ammonia has proven to be an effective solution. Make sure you are working in a well-ventilated space, fitted with protective eyewear and gloves in order to lessen the strong odor that ammonia emits. Create a diluted solution of ammonia that typically combines an amount of ammonia with a larger amount of water in a 1:10 ratio. Immerse the faucet’s head in this solution for around 15 minutes and allow the ammonia solution to remove the green deposits.
Use a soft brush or toothbrush to gently scrape away the loose deposits, with a focus on the areas with a green tint. Cleanse the head thoroughly with warm water ensuring that there Is no remaining ammonia. This process Is successful in restoring the cleanliness Of the And complies with strict safety guidelines.
09. Clean Black and Brown Build-Up With Cream of Tartar
When confronted with persistent black and brown build-up on your head, consider using cream of tartar as a natural cleaning solution. Create a paste by combining cream of tartar with a small quantity of water. Apply this paste generously to the affected areas, ensuring thorough coverage of the stains.
Allow it to sit for approximately 15-20 minutes, giving the cream of tartar time to break down and loosen the stubborn build-up. Afterward, use A soft brush Or toothbrush To gently scrub away the residues. Finish by rinsing thoroughly with warm water, revealing A clean and revitalized fixture, free from unsightly stains.
Conclusion
Maintaining a clean kitchen faucet head is vital not only to look nice but also to ensure optimal water flow and high quality. Regularly cleaning techniques such as using baking soda, vinegar or even natural remedies such as lemons can efficiently remove stains and mineral deposits. To remove more stubborn build-up ammonia or cream of Tartar are great allies as long as you adhere to safety guidelines consistently. Make sure To scrub the head And, especially, The filter for a thorough cleaning. Whatever method you decide to use routine maintenance can help keep your faucet in top condition, and ensure an efficient and clean water supply to your kitchen.