The bathroom sink is one of the most important fixtures in a home. It is used for taking care of personal hygiene needs and is often the first place that water is spilled on the floor. It is therefore important to make sure that the sink drain is in good condition and functioning properly. If it is clogged, it can be a huge inconvenience. In this article, we will show you how to remove a bathroom sink drain.
What Is A Bathroom Sink Drain
A bathroom sink drain is a plumbing fixture that is used to dispose of wastewater from a bathroom sink. The drain consists of a pipe that extends from the sink to a nearby drainpipe or sewer. The pipe features a stopper that blocks water flow to prevent sink overflow. Additionally, it contains a trap that catches debris, preventing it from entering the drainpipe or sewer.
What Are The Reasons For Clogged Sink Drains?
The sink is one of the most used appliances in any bathroom. It’s also one of the most likely appliances to get clogged. There are several reasons why your bathroom sink drain may become clogged, and some are easier to fix than others.
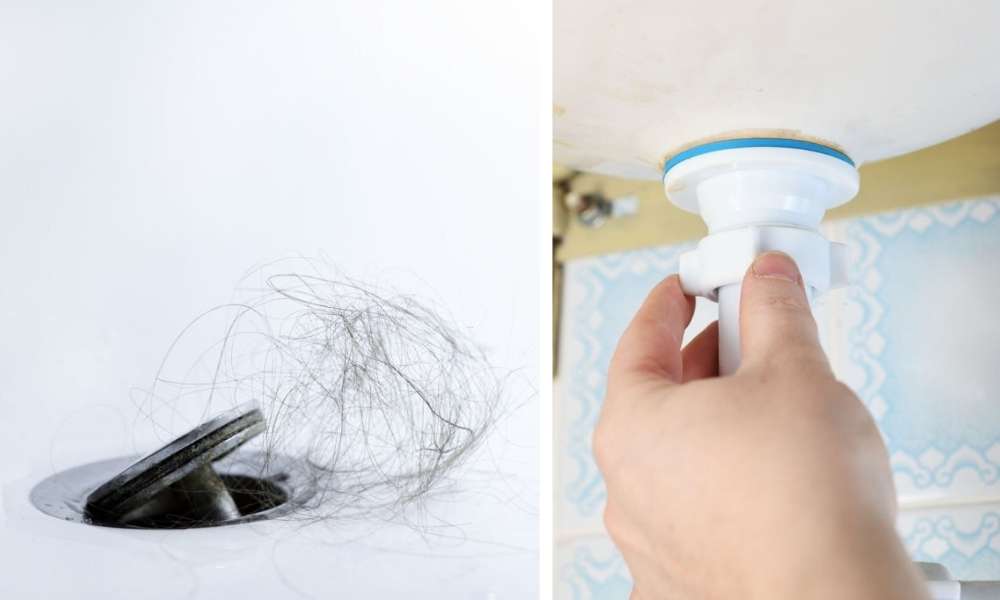
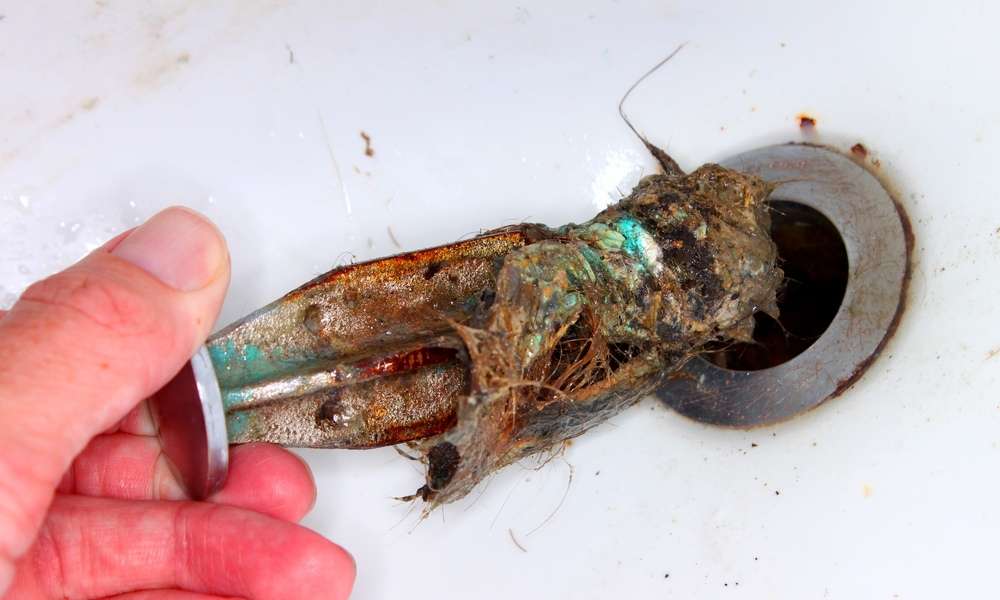
One common reason for a clogged sink drain is hair. Hair can easily accumulate in the drain and form a clog. You can try to remove the hair with a metal hanger or other object, but this can be difficult and time-consuming. If there’s a significant buildup of hair in the drain, you might need to call a professional plumber to remove it.
Another common culprit for clogged sinks is soap scum. Soap scum forms when dishwashing detergent and other household cleaners build up on the sides of the sink basin and the drain pipe.
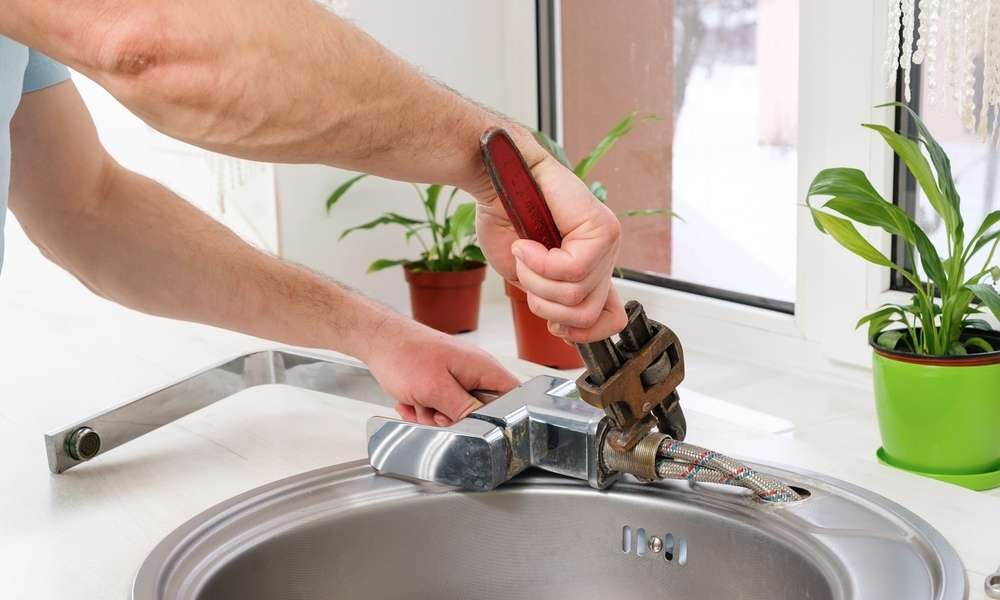
You Will Need To Remove A Bathroom Sink Drain
- Adjustable wrench
- Pipe wrench
- Plumbers’ pliers
- Screwdriver (flathead or Phillips)
- Putty knife
What Are The Best Steps
Removing a bathroom sink drain is not as hard as it may seem. Here are the basic steps:
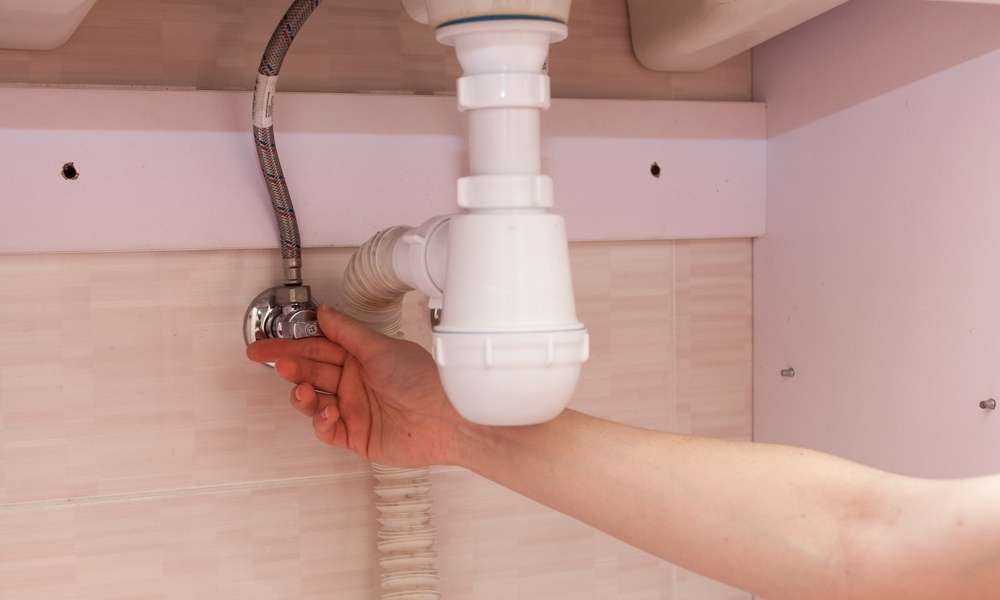
1. Shut off the water supply to the sink by turning off the valve under the sink.
2. unscrew the P-trap from below the sink.
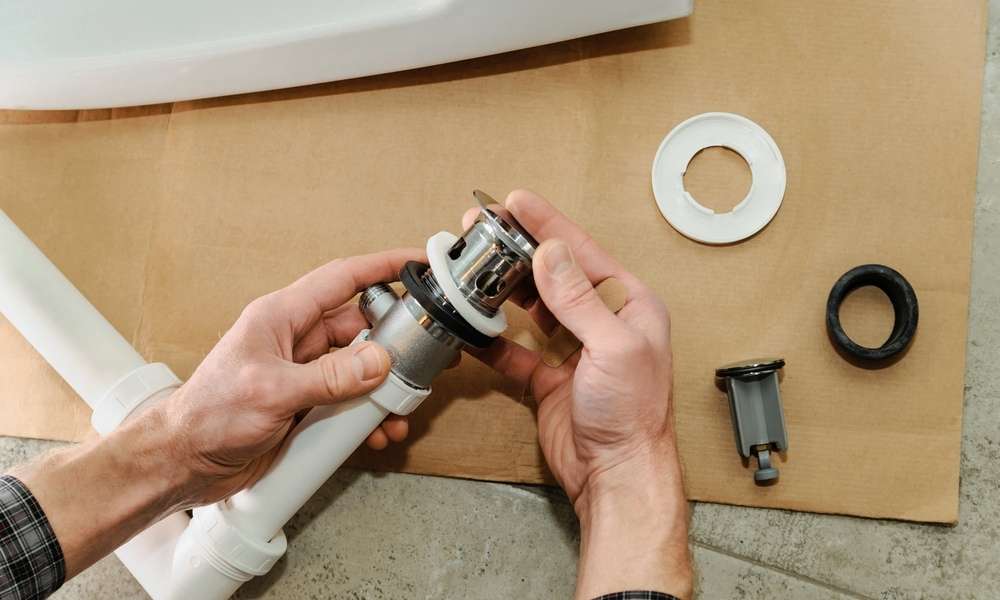
3. remove the old drain assembly and discard it.
4. Ensure the new drain assembly is properly seated on the flange during installation.
5. reattach the P-trap and tighten its screws securely.
6. turn on the water supply and check for leaks.
Shut Off The Water
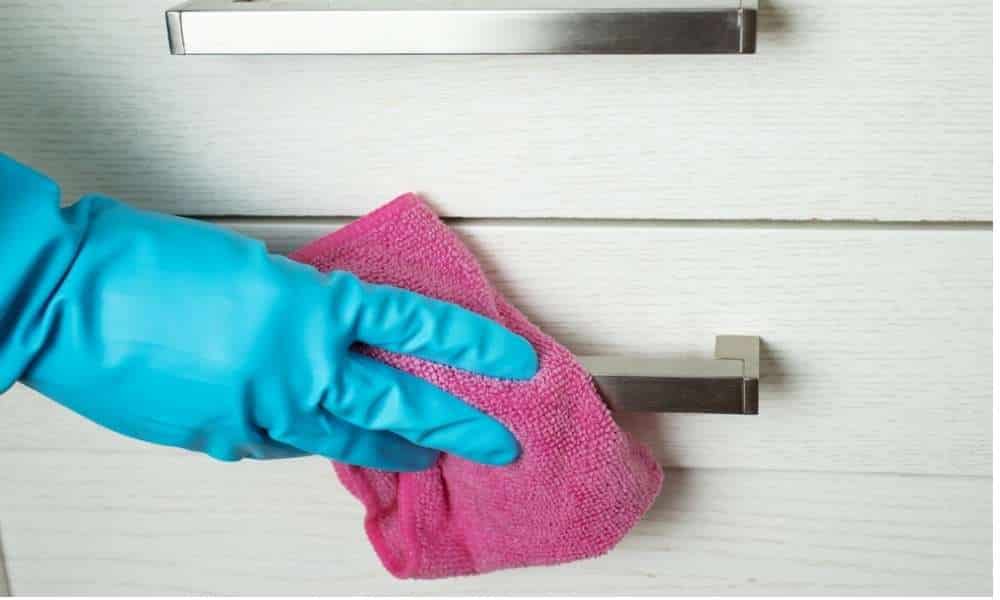
Effectively Removing and cleaning bathroom sink drain is a simple process that can be completed in a few minutes. Turn off the water flow to the sink as the initial action. You can do this by turning the valve located under the sink. After turning off the water, loosen the screws on the drain cover and remove it. The next step is to loosen the nuts that hold the drain in place. You can loosen these with a wrench or pliers. Once you loosen them, Pull out the drain and clean any debris from it. Replace the drain and reassemble the sink.
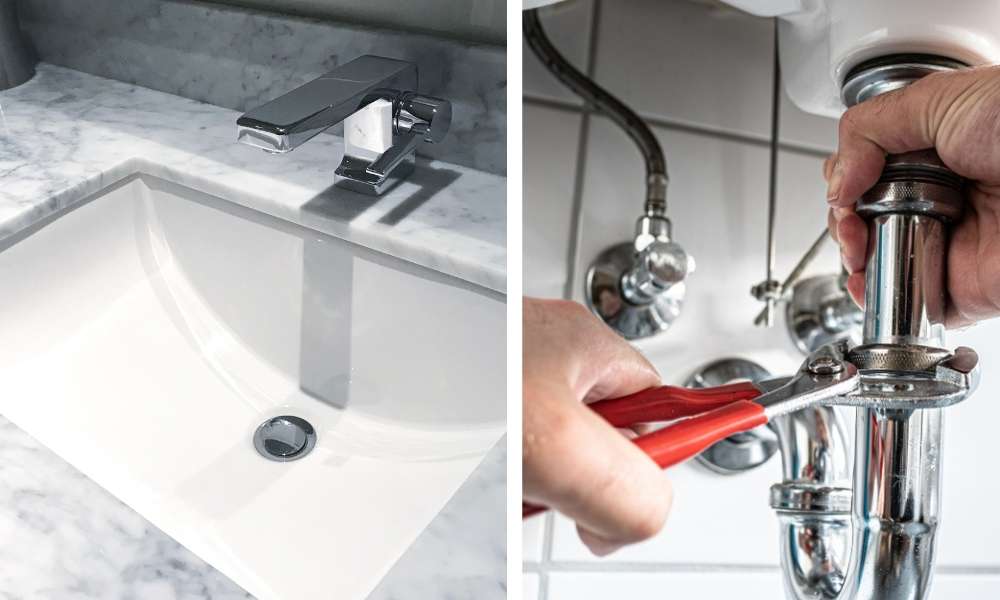
Remove The P-Trap
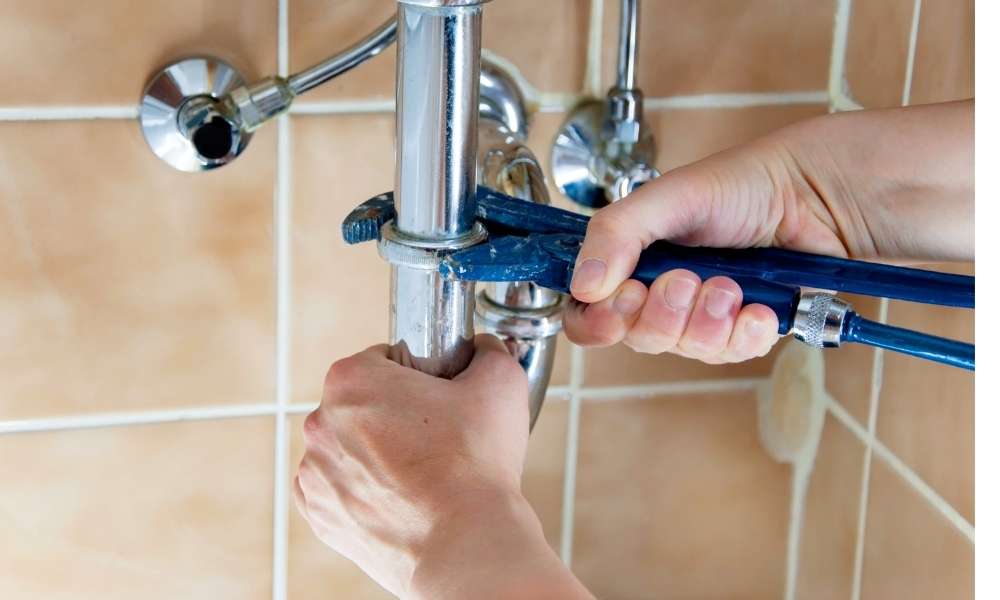
When it’s time to remove a bathroom sink drain, the process is pretty straightforward. The most important part is to remove the P-trap. The P-trap is the curved section of pipe beneath the sink that catches water and debris. Two metal U-shaped connectors, known as “nuts,” hold it in place.
To remove the P-trap, use a wrench to loosen the nuts on either side. Once they’re loose, you can pull the trap free from the drainpipe. Be careful not to spill any water or debris from inside! If the trap is dirty, you can clean it with a hose or bucket before reassembling it.
Remove The Pop-Up Sink Drain
If you are like most people, you probably don’t give much thought to the sink drain in your bathroom. However, if you have a pop-up sink drain, it’s time to start thinking about it. That’s because this type of sink drain can be a real nuisance.
Here’s how it works: when you turn on the water, the pop-up sink drain opens and the water flows down the drain. Turning off the water causes the pop-up sink drain to close, preventing water from flowing back up into the sink. This is a great idea in theory, but in practice, it often doesn’t work very well.
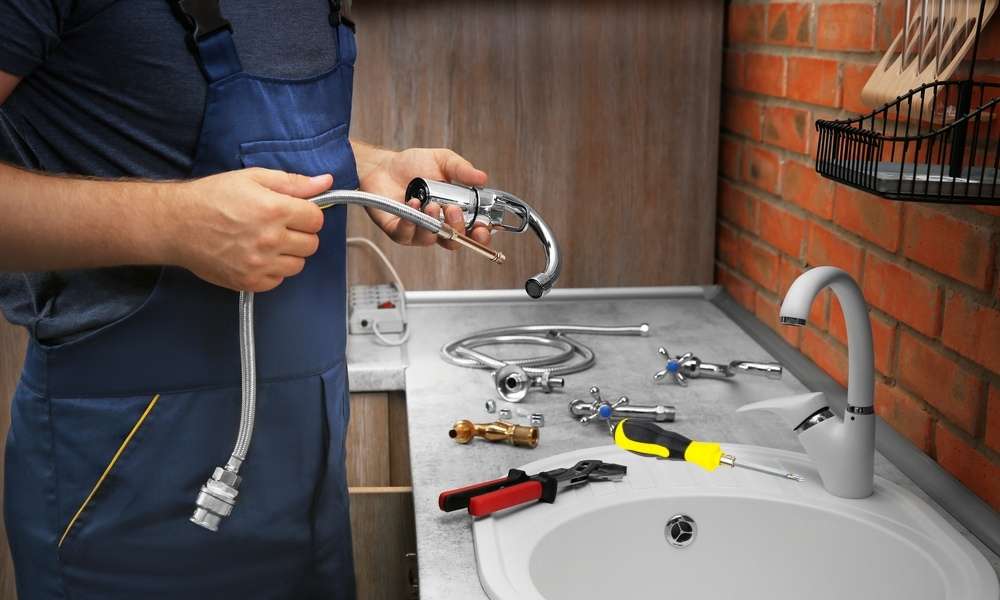
Remove The Tailpiece
Removing a bathroom sink drain is not as difficult as one might think. In most cases, it can be done with a few simple tools that are likely already in your toolbox. The first step is to remove the tailpiece. This is the part of the drain that sits below the sink and attaches to the P-trap. The tailpiece is usually held in place by a slip nut. Loosen the nut by turning it counterclockwise with a pair of pliers. Once the nut is loose, you can pull the tailpiece free from the P-trap.
The next step is to remove the P-trap itself. This can be done by loosening the compression nuts at either end of the trap. Again, use a pair of pliers to turn them counterclockwise. Once they are loose, you can pull the trap free from the sink.
Remove Clips And Cut Away Sealant
Two methods for removing a bathroom sink drain are using clips to remove the pop-up stopper and using cut-away sealant to remove the drain.
Remove Sink
You can usually accomplish this by pulling on it or turning it counterclockwise. After removing the stopper, You can access the sink’s trap, Located beneath it and secured by two screws. Use a screwdriver to remove these screws. Once they’re out, you can pull the trap from the drain pipe. Next, remove the old sealant around the drain pipe and apply the new sealant generously to both the top and bottom of the pipe. Reassemble the trap and secure it in place, then tighten the screws before replacing the stopper.
Drain Stop Sink
If you have a sink in your bathroom that drains slowly, there is a fix for that. It is a simple process to remove the drain stop and clean it out. Just a screwdriver and pliers Are required. The first step is to remove the screws that hold the drain cover in place. Then use the pliers to remove the stop. Clean out any debris and replace the stop.
Disconnect The Backsplash
Start by turning off the water supply to the sink before removing any fixtures or hardware. Use a putty knife to gently pry the backsplash away from the wall, being careful not to damage any surrounding tiles or grout. Once removed, clean any adhesive residue left behind using a mild solvent and a scrub brush.
Call A Professional

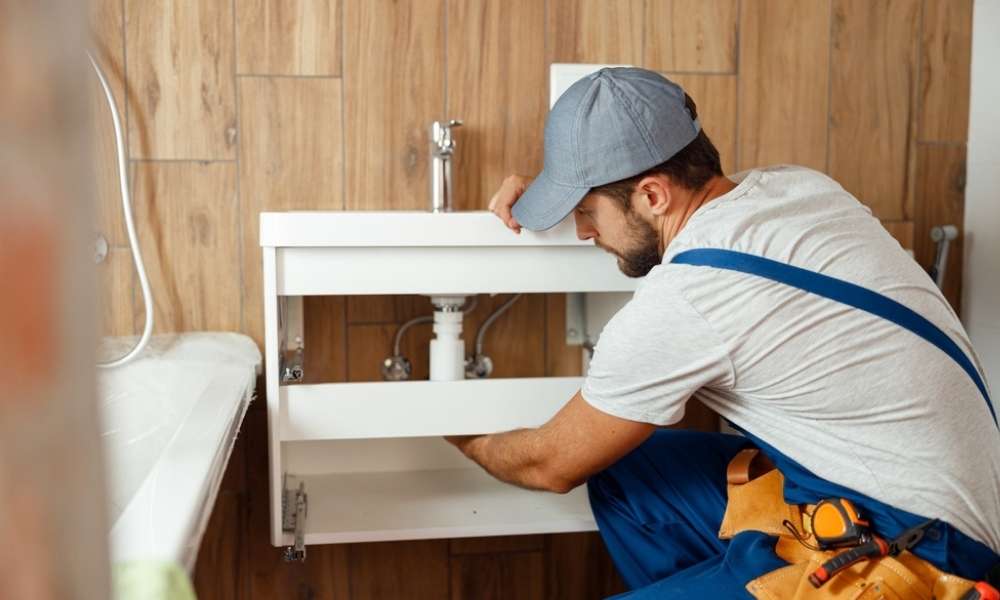
If you’re like most people, you probably don’t know how to remove a bathroom sink drain. Removing a bathroom sink drain can be a bit tricky. That’s why it’s best to call a professional. A professional will be able to remove the sink drain quickly and easily. They will also be able to clean the sink drain and ensure that it is in working order. So if you’re having trouble removing your bathroom sink drain, Be sure to call a professional.
Conclusion
Removing a bathroom sink drain may seem daunting, but by following these easy steps you can complete the process. You can confidently tackle the job by gathering the necessary tools and materials, such as a pipe wrench and plumber’s putty. Remember to take your time and be gentle when loosening and removing the drain assembly parts to avoid causing damage. After removing the drain, inspect it for any signs of wear or damage, and replace any components as needed. With patience and attention to detail, you can quickly and efficiently remove a bathroom sink drain without any hassle.