To remove a sink flange on a garbage disposal, start by disconnecting the disposal unit from the sink and electrical connection. Then, use a screwdriver to loosen the mounting bolts and twist the flange counterclockwise to remove it.
You can remove a sink flange on a garbage disposal with a few basic tools and some careful maneuvering, as it’s a straightforward process. It’s important to follow the manufacturer’s instructions and take proper safety precautions when working with the disposal unit.
By following the steps outlined in this guide, you can effectively remove the sink flange and ensure a smooth and seamless disposal maintenance process. Removing the sink flange on a garbage disposal is a manageable task that you can complete with minimal hassle, whether you’re a seasoned DIYer or a novice homeowner.
Understanding The Sink Flange On A Garbage Disposal
If you’re looking to tackle your garbage disposal maintenance, it’s essential to understand the various components involved. One crucial part of the disposal unit is the sink flange. Understanding the sink flange on garbage disposal will give you insights into its key components and functions, as well as the importance of removing it properly.
Key Components And Functions
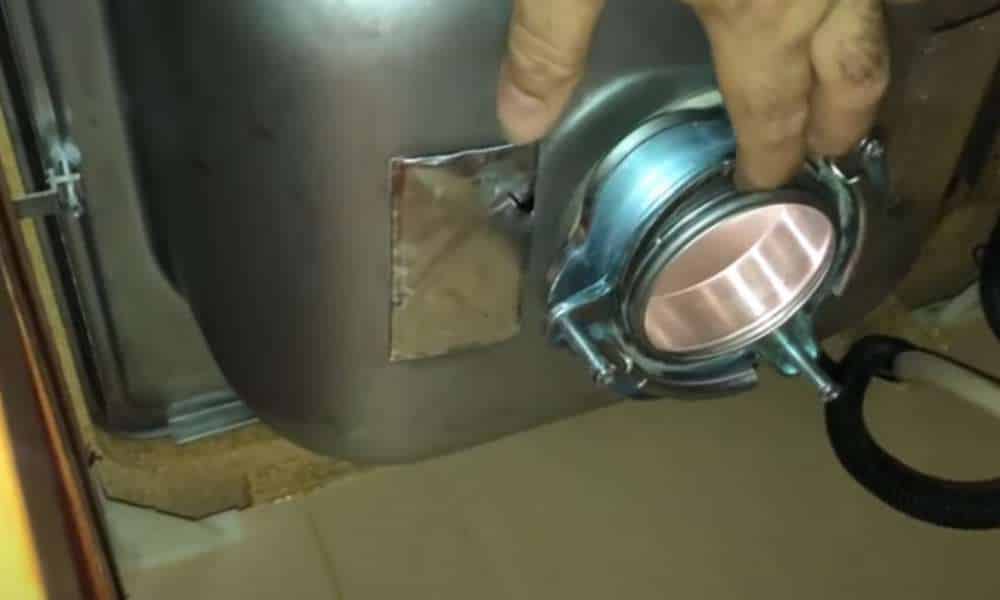
Before removing the sink flange on a garbage disposal, it’s important to have a clear understanding of its key components and functions. The sink flange is the piece that connects the garbage disposal to the sink. It is typically made of durable materials such as stainless steel or plastic to withstand the rigors of daily use. The main function of the sink flange is to provide a secure connection between the disposal unit and the sink, preventing any leaks or debris from escaping.
Importance Of Removing The Sink Flange Properly
Properly removing the sink flange on a garbage disposal is crucial for ensuring the optimal functionality of the unit. If the sink flange is not removed correctly, it can lead to potential leaks and drainage issues. Additionally, improper removal could cause damage to the disposal unit or the sink itself, leading to costly repairs. By understanding the importance of removing the sink flange properly. You can effectively maintain your garbage disposal and prevent any potential problems down the line.
Tools Needed For Removing Sink Flange
If you’re about to tackle the task of removing a sink flange on a garbage disposal, having the right tools at hand is crucial. By having the necessary tools, you can ensure the process goes smoothly without any hiccups along the way. Let’s take a look at the essential tools you’ll need to remove a sink flange on a garbage disposal.
List Of Essential Tools
- Adjustable Wrench: This versatile tool will enable you to loosen and remove the mounting bolts holding the flange in place.
- Plumber’s Putty Knife: You’ll need this to scrape off any old plumber’s putty sealing the flange to the sink.
- Flathead Screwdriver: Useful for prying off the old flange and cleaning any excess putty from the sink surface.
- Bucket: It’s always a good idea to have a bucket handy to catch any water or debris that may come out during the removal process.
Safety Precautions To Consider
- Power Off the Disposal: Before starting the removal process, ensure you turn off the power to the garbage disposal to avoid any potential accidents.
- Use Protective Gear: It’s advisable to wear gloves and safety goggles to protect yourself from any sharp edges or debris.
- Watch for Leaks: Once the flange is removed, check for any leaks or damage to the sink or disposal unit. Address any issues before proceeding with installation.
Step-by-step Process For Removing The Sink Flange
When it comes to removing the sink flange on a garbage disposal, knowing the step-by-step process is crucial. This ensures that the task is carried out efficiently and safely. Below is a detailed guide on the method for removing the sink flange from a garbage disposal, outlining each step in the process.
Shutting Off Power And Water Supply
Before starting the removal process, it’s essential to shut off both the power and the water supply to the garbage disposal unit. This step is vital to prevent any accidents or damage during the removal process.
Loosening And Removing The Mounting Assembly
The next step is to loosen and remove the mounting assembly that holds the garbage disposal in place. This involves disconnecting the disposal unit from the mounting assembly. And ensuring that it is safely supported during the removal process.
Detaching The Sink Flange From The Garbage Disposal Unit
Once the mounting assembly is removed, the sink flange can be detached from the garbage disposal unit. This step requires carefully loosening and removing the mounting bolts that secure the flange to the disposal unit. Carefully lift the sink flange out of the sink after removing the bolts.
Troubleshooting And Common Challenges
Removing a stuck or corroded sink flange on a garbage disposal can be a challenging task. But with the right approach, it can be accomplished efficiently. Below are some common troubleshooting tips and challenges you may encounter when removing a sink flange on a garbage disposal.
Addressing Stuck Or Corroded Flanges
Stuck or corroded flanges can be frustrating, but there are ways to address this issue effectively. It’s important to start by applying a penetrating lubricant to the flange screws and letting it sit for at least 10-15 minutes. This will help loosen the stuck or corroded parts, making it easier to remove the flange.
If the flange still won’t budge, you can try using a pair of locking pliers to firmly grip the flange and rotate it counterclockwise. This can provide the extra leverage needed to break the corrosion or stuck seal. Additionally, tapping the flange with a rubber mallet can help dislodge any stubborn buildup and facilitate removal.
Dealing With Stubborn Hardware
Stubborn hardware, such as rusted or seized bolts, can pose a significant challenge when removing a sink flange. To tackle this issue, you can utilize a rust penetrant spray to loosen the bolts, allowing for easier removal. Alternatively, applying a heat source, such as a hairdryer or heat gun, can expand the metal and aid in loosening stubborn hardware.
Should the hardware remain unyielding, a breaker bar or an impact wrench can provide the necessary torque to break free seized bolts. Be sure to use caution and avoid applying excessive force to prevent damaging the disposal unit or surrounding plumbing.
Ensuring Proper Reinstallation Of The Sink Flange
Proper reinstallation of the sink flange is crucial for maintaining the efficiency and functionality of your garbage disposal system. This step-by-step guide will walk you through the essential steps to guarantee a secure and effective reinstallation of the sink flange.
Cleaning And Preparing The Area
Before reinstalling the sink flange, ensure that the area is thoroughly cleaned and free from any debris or old sealing material. Use a damp cloth to wipe the flange and the surrounding surface to create a clean and smooth area for reinstallation. Inspect the mounting surface for any signs of damage or corrosion that could affect the proper sealing of the new flange.
How To Clean Bathroom Sink Drain
Securing The New Flange In Place
Apply a generous amount of plumber’s putty around the underside of the new sink flange. Carefully lower the flange into the drain opening, ensuring it sits flush with the sink surface. Next, insert the backup flange, mounting ring, and mounting screws. Tighten the screws evenly to secure the flange in place. Ensure the flange is tightly secured without over-tightening, which can damage the flange or sink surface, by using a wrench.
Testing The Newly Installed Sink Flange
Turn on the water and let it run through the disposal to check for any leaks around the newly installed flange. Check for any signs of water seepage or dripping, especially from the underside of the sink. Operate the garbage disposal to confirm that the reinstalled flange doesn’t cause any vibrations or unusual noises. Additionally, observe the drainage to ensure there are no clogs or slow-draining issues.
Frequently Asked Questions
How Do You Remove A Sink Ring From A Garbage Disposal?
To remove a sink ring from a garbage disposal, turn off the power, use pliers to unscrew the ring, and remove it carefully.
How Do You Remove A Stuck Insinkerator Flange?
To remove a stuck Insinkerator flange, use a hammer and chisel to tap and break it free. Apply penetrating oil and let it sit for a few hours before attempting to remove it again. Use a heat gun to expand the metal and try again if it remains stuck.
Conclusion
To successfully remove the sink flange on your garbage disposal, it is important to follow the steps outlined in this guide. By taking the proper precautions and using the right tools, you can easily complete this task. With these helpful tips, you can ensure a smooth and effective removal process for your sink flange.