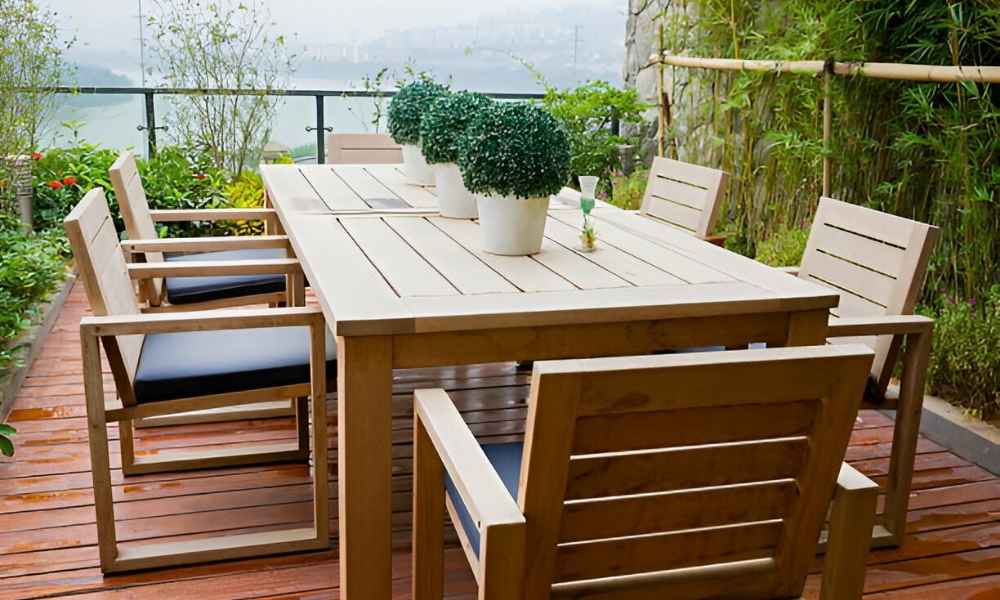
A beautiful wooden table can be the centrepiece of any outdoor space. But when exposed to the elements, Wood becomes vulnerable to damage like cracking, rotting, Or fading. The solution? Properly sealing your wood table to withstand outdoor conditions. This post will take you through all the basics in making sure how to seal wood table for outdoor use and in natural state.
Why Sealing Your Wood Table is Essential
Wood is naturally porous, Making it prone to absorbing water, which causes swelling, Warping, And eventual decay. Prolonged exposure to sunlight fades the wood and weakens its fibres, While temperature changes can lead to cracks and other structural damage. Sealing creates a protective barrier that prevents moisture infiltration and shields against UV rays, Ensuring the table remains sturdy and visually appealing no matter the weather.
Step 1: Choosing the Right Wood
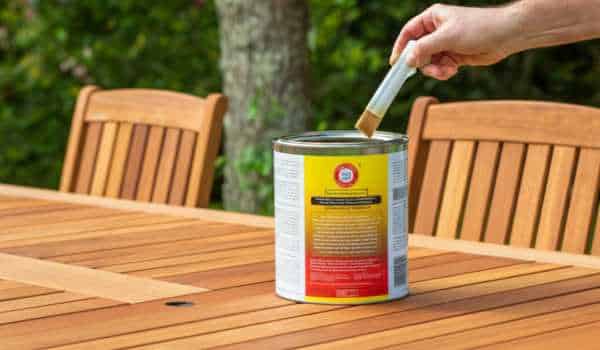
The kind of wood used for outdoor furniture plays a major role in its longevity. Teak, cedar, redwood and acacia are naturally rot-, Moisture- and insect-resistant, Making them great for outdoors. Teak, For instance, Is extremely strong and water-resistant, while cedar is lightweight and insect-resistant. Redwood is beautiful and weather-resistant and acacia is dense and decay-resistant.
Step 2: Preparing the Surface
Proper preparation is key to ensuring the sealer adheres effectively to the wood. Start by sanding the table with 80-grit sandpaper to remove old finishes, scratches, or rough patches. Once the surface is even, switch to 220-grit sandpaper for a smoother finish. Always sand along the wood grain to avoid scratches or damage. After sanding, clean the wood thoroughly using a tack cloth or a damp microfiber cloth to remove all dust and debris. A clean and smooth surface is crucial for achieving a flawless seal.
Step 3: Choosing the Right Sealer
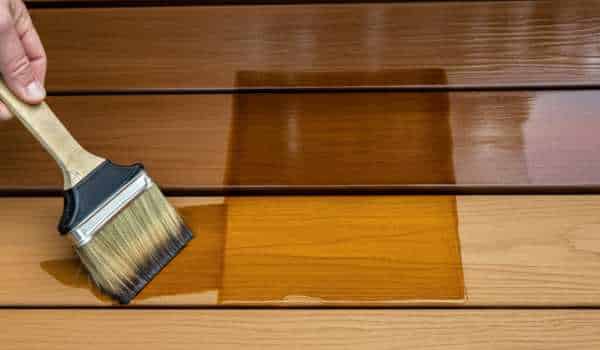
It is important to choose an appropriate sealer for your locality and the amount of protection you require. Polyurethane is a high versatility option highly water and UVR-resistant perfect for wet or humid conditions, the Spar varnish intended for outdoor use gives flex and UV protection so I can deal with temperature variations. Epoxy Resin As a Collision Cover for Extreme Weather, Creates a Thick Tough Moisture Barrier If you want to go organic, tung oil and linseed oil are very good alternatives that will sink deep in the wood while accentuating their natural grain.
Step 4: Applying the Sealer
Use a good natural bristle or foam roller, And work the sealer in thin, even coats along the wood grain. For example, Large tables can be sanded and painted with a sprayer for efficiency with an even continuous finish. Don’t over-spray with too much product all at once or it will begin dripping or streaking. Don’t rush the process and make sure to cover every last bit of your table!
Step 5: Applying Multiple Coats
Most sealers need to be repeated several times for a proper protective barrier to be established. Water-based sealers will take between two and three coats, while oil-based sealers can often do two coats. Epoxy resin only has to be applied once with a generous coat for 100% protection. Sand the surface lightly between coats with 220-grit wet-or-dry, to help the next coat adhere. Patience and allow the right time for coating between coats, for a smooth durable coating and seal acrylic paint for outdoor use
Step 6: Drying and Curing
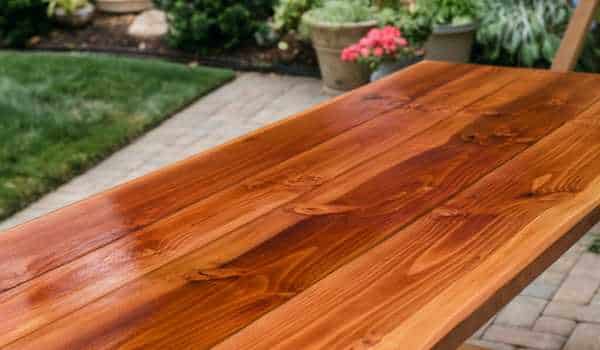
Drying time is critical to achieving a professional finish. For polyurethane, allow four to six hours between coats. Spar varnish may require eight to ten hours to dry, while epoxy resin needs 24 to 48 hours for full curing. Keep the table in a clean, dust-free area with good ventilation to prevent imperfections during the drying process. Proper curing ensures that the protective layer is fully set and ready to withstand outdoor conditions.
Step 7: Maintaining Your Sealed Table
A table can be well-sealed but with proper maintenance, It will be in above-average condition. Place it in a covered location (screened-in, underneath an umbrella) or use a UV cover to protect it from sun damage if not in use. In heavy downpours; cover the table or raise furniture pads slightly to allow any pooling water to run under.
Use mild soap and water to clean the surface regularly so long as the dirt & grime do not damage the clear finish — don’t use harsh chemicals. Re-seal every 1-2 years to maintain that protective top, and it will make the table last for as long (if not longer).
Step 8: Restoring Old Furniture
You can restore the weathered table to its former (clean) self. The first step is checking for any damage as you work to identify cracks, chipping of the finish or discolouration. Sand down the surface to take off old stains and perfect all imperfections. In case it’s only minor, a new coat of spar varnish or poly on the table should do wonders. Epoxy resin does justice for substantial cracking or heavy usage, it is an industrial-grade liner that fills fine with the damage.
Step 9: Weatherproofing Indoor Furniture
Using your indoor furniture outside is the largest way to save money repurposing, although more work is needed. Start First with sanding and washing the table a couple of times to remove any existing finishes. Start with a solid base coat to create a strong foundation, Then spray your chosen outdoor finish, Like spar varnish or epoxy, onto the table. Use rubber or plastic feet to raise the table off the ground just a tad to aid in some drainage of wetness,s not in your table.
Best Sealants for Outdoor Wood Furniture
- Minwax Helmsman Spar Urethane: All-purpose sealer for UV/P451 and moisture resistance
- Rust-Oleum Marine Spar Varnish: For wet and/or humid climates.
- TotalBoat Epoxy Resin: Waterproofing for the trades.
- Watco Tung Oil Finish: A natural option for better looking and protecting wood grain.
Conclusion
Sealing wood for an outdoor table is a simple and no-brainer way of protecting that piece of furniture because who wants to look at a gross wood table outside? By using the appropriate materials, techniques and care, your table should be able to stand the elements and bring many years of quality enjoyment. These steps will help you achieve a solid, weather-resistant result for a newly sealed or revived table.
FAQs
Do I need to sand the table before sealing it?
Yes, sanding is required before staining on a wood table. Cleans off the bumps, old stuff and imperfections so sealer can get on top of the finish. Begin with a course sand (80-grit) to make the surface more even, and for a completed look use the 220-grit to give it shine.
How many coats of sealer should I apply to an outdoor wood table?
Most outdoor wood tables require only 2-3 coats of sealer, in general. 3 coats are typical for water-based sealers with oil-based sealers and epoxy resin needing only 2. Ensure the coats have fullدهouted before applying another coat for optimum results.
Can sealing a table prevent it from fading in sunlight?
Yes, the application of sealer can retain sunlight fade as long as you use a UV-resistant sealer such as spar varnish or UV polyurethane. These coatings block the harsh UV rays and protect finish colour strength throughout life.
What’s the difference between spar varnish and polyurethane?
Spar varnish is for outdoors and will be flexible offering it the chance to expand and contract with changes in temperature. While polyurethane is more rigid and great for long-lasting outdoor environments that do not experience a great deal of movement, with excellent water and UV ratings. Both serve as excellent sealers but spar varnish is perfect for the changing weather conditions.

