An outdoor bar with A roof is An adventure in itself And will quickly become An oasis for leisure And entertainment in any outdoor space. Our comprehensive guide on “How to Build an Outdoor Bar With Roof” will outline all the steps, insights, And creative nuances necessary for crafting one that serves both aesthetically and practically. Enjoy basking under the warmth of sunrays or appreciating raindrops with your newly designed bar under A well-thought roof as relaxation and gatherings are enjoyed there.
Why Build An Outdoor Bar
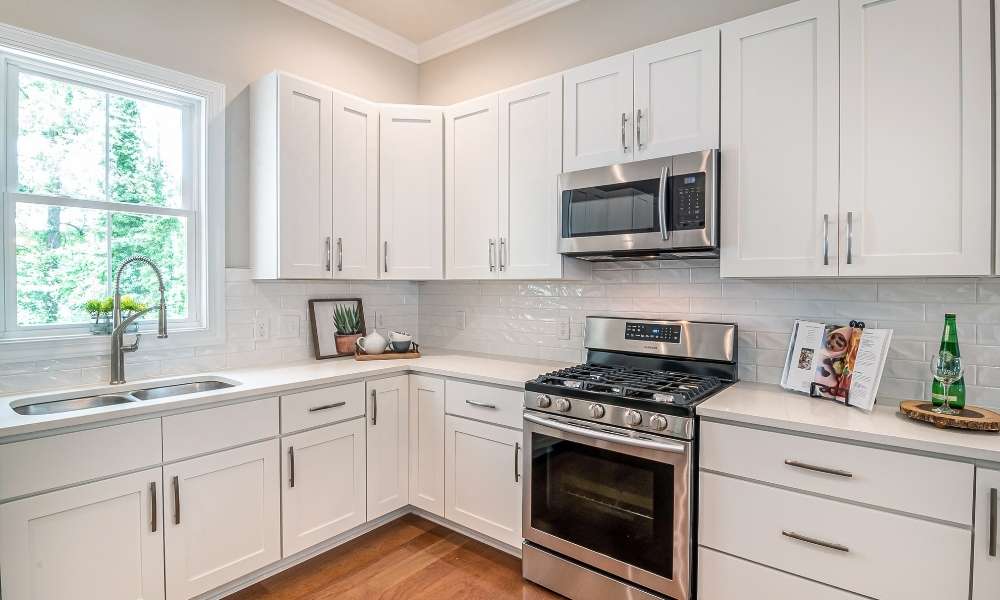
Assuming the responsibility of building an outdoor bar can be rewarding in multiple ways. Beyond simply having a designated area for entertaining guests. It also serves as an opportunity for social engagement by inviting friends and family members together in an atmosphere of camaraderie among nature. Furthermore. It provides an oasis for relaxation where one can unwind peacefully within nature’s embrace – perfect for hosting gatherings as well as relaxing alone.
Outdoor Bar Ideas On A Budget
Crafting an outdoor bar on a tight budget opens up endless creative potential. Celebrate repurposed materials – like pallets transformed into rustic counters or cinder blocks used as sturdy foundations – for maximum charm. Make the space your own with cost-effective yet visually appealing elements like string lights, vibrant cushions, and thrifted furniture that add personality. And are cost-cutting measures at once. DIY projects such as creating a bar top from reclaimed wood or crafting your own barstools not only save money but add personal flair as well. Plants and clever storage solutions can add atmosphere without breaking your budget. A stylish outdoor bar on a budget is achievable through creativity and resourcefulness. Showing that an inviting retreat doesn’t need to come with an exorbitant price tag!
Free Outdoor Bar Plans With Roof
Starting the journey towards building an outdoor bar with a roof doesn’t need to be expensive or time-consuming. Free plans offer step-by-step guidance that allows you to craft your dream relaxation and entertainment space. They encompass various styles and sizes to meet different preferences and spaces. Utilizing online resources you have at your disposal such as instructions and material lists. Diagrams will make construction manageable yet rewarding. You can bring your envisioned space to life without compromising its quality or design!
Important Things To Consider Along The Way
As you embark on the journey of building an outdoor bar with a roof. Many essential factors must be carefully considered. Start by evaluating available space and deciding on an optimal size and layout. Material choices that withstand outdoor conditions should also be prioritized to ensure long-term use and structural stability. Prioritize a solid foundation with proper anchoring; avoid overlooking local building codes or permits that may be necessary. Consider drainage for water accumulation prevention while factoring lighting and ventilation into lighting for comfort during construction. By considering these essential details, you ensure a successful and pleasurable outdoor bar construction experience!
1. Planning And Designing
Setting out to build requires careful consideration and design. Begin by visualizing how it will fit in with your outdoor space. Taking into account layout, seating arrangements, traffic flow, and roof designs for weather protection. Include functionality by allotting space for appliances, storage, and serving areas while giving yourself free rein when choosing materials, colors, and finishes that reflect your aesthetic and personality. Taking this methodical approach sets the foundation for creating a bar that truly represents both your vision and needs.
2. Gathering Materials And Tools
Beginning an outdoor bar project requires gathering essential materials and tools. Start by purchasing durable lumber, suitable roofing materials, hardware, and quality fasteners/screws/brackets to build a solid structure. Also invest in quality fasteners, screws/brackets for assembly as well as essential tools like saws/drills/levels/measuring tapes, etc for assembly; additionally, bar stools, lighting fixtures/decorative elements may be acquired depending on your design needs; getting all these elements ready will ensure a successful result
3. Building The Foundation
Building a requires starting with a strong foundation. This initial step involves prepping the ground to ensure stability before creating a durable base using concrete footings, Pavers, or treated lumber – providing your bar’s structure with strength and support that will stand the test of time. Paying close attention during this foundational stage is key for a successful and enduring outdoor bar construction project.
4. Constructing The Bar Frame
Once the foundation for your outdoor bar has been laid, construction of its frame begins. This step requires using lumber from your chosen source to assemble a framework and precisely align and connect all its components. Secure connections are crucial for its integrity, while shelves, and countertops. Spaces for appliances may all need to be accommodated within this skeleton frame. Once complete, future stages can begin!
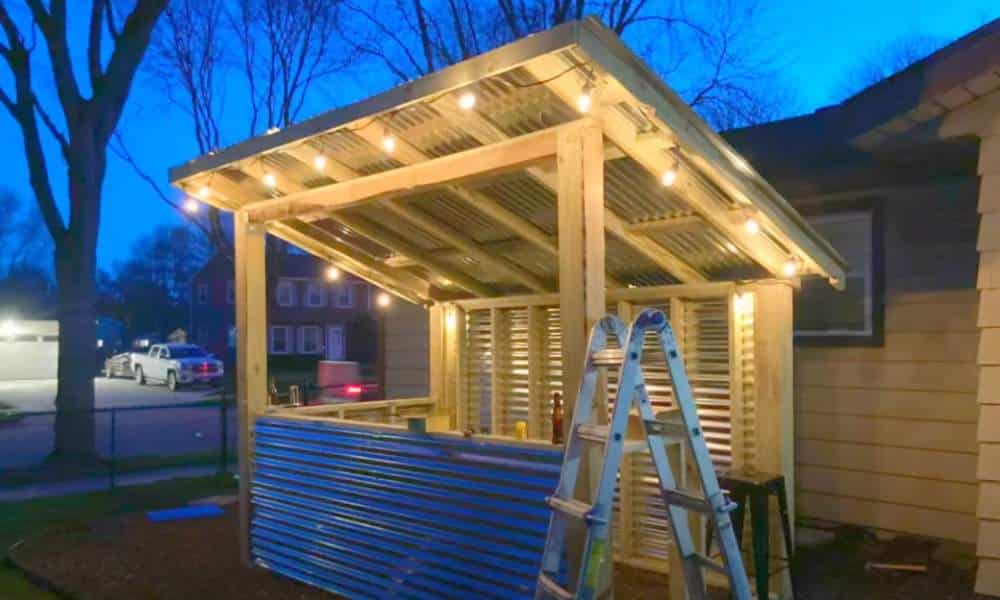
5. Installing The Roof Structure
As part of your outdoor bar construction, installing the roof structure should take the top spot. This step involves carefully erecting the framework to ensure precise alignment and secure attachment; depending on your design and chosen materials, this stage may involve placing rafters, beams, and roofing panels. Diligence ensures a sturdy yet functional roof that compliments its overall design bringing you one step closer to achieving retreat.
6. Choosing The Right Roofing Material
Selecting an ideal roofing material is a key decision in the building. Not only does the choice influence its aesthetic appeal and durability. But it can also determine weather resistance and longevity. Options like metal, shingles, or polycarbonate panels each offer distinct advantages for longevity, insulation, and maintenance purposes – so take note of your climate and surroundings before making a selection that aligns with your design vision while offering adequate protection.
7. Adding Countertops And Shelving
The focus turns towards increasing its functionality and convenience by installing countertops and shelving. This step includes carefully installing surfaces for food preparation, serving, And display, Using durable outdoor-grade materials while matching your desired design aesthetic. As well as shelving units or storage spaces to organize essential utensils, beverages, or essentials so they’re easily accessible. Upon completion of this phase, Your bar becomes An enjoyable hub for entertaining both you And your guests.
8. Incorporating Seating And Comfort
Create an inviting ambiance in your bar with the roof by including seating and comfort elements in its design. Carefully selecting bar stools, benches, or lounge chairs can enhance the ambiance and encourage relaxation. While friendly fabrics like cushions can not only add comfort but also a splash of color and style. Complement your overall design by including tables, side tables, or built-in ledges so guests have convenient spaces to set drinks or belongings down while also adding aesthetic value – by prioritizing comfort over aesthetics. You create an outdoor haven where people linger to remember unforgettable memories in a cozy and welcoming setting!
9. Electrical And Lighting Considerations
As part of your roof’s final preparation process, it’s vital to factor in electrical and lighting considerations. Installing electrical outlets provides convenient access for using appliances such as blenders or chargers, increasing their functionality. Lighting arrangements incorporating string lights, sconces, or overhead fixtures can transform the atmosphere, providing an enchanting space perfect for evening gatherings. Incorporating both electrical and lighting considerations add practicality as well as captivating allure, guaranteeing it remains versatile and appealing day or night.
10. Weatherproofing And Finishing Touches
As your bar with roof reaches completion, weatherproofing and adding finishing touches should become top priorities. Applying weather-resistant coatings helps protect materials from the elements and extend their lifespan for long-term durability. Sealing gaps and joints to stop water seepage, elevating personal style with decorative accents like art pieces, potted plants, Or customized signs. These finishing touches not only add visual appeal but also contribute to creating an enchanting and stylish retreat!
Conclusion
At the completion of this outdoor bar project, a perfect blend of innovation and craftsmanship has come together. A constructed haven with its protective roof serves both solitude and socialization; through careful planning, selection of durable materials, and careful attention to every detail; an inviting yet functional and aesthetically pleasing space has taken form. Its protective roof serves as an oasis for enjoying nature while shielding away elements, Providing an opportunity to cherish precious moments with friends and family in comfort while shielding from weather changes. Taking every aspect carefully into account will assure lasting enjoyment and relaxation, An oasis that promises lasting pleasure and relaxation!
Faqs
What can I use as a top for outdoor bar?
Your bar top options for use as a table include natural stone, granite, concrete, wood, and tile – each material offers distinctive aesthetics, durability, and maintenance needs that allow you to select what best meets your personal preferences and needs.
How do you set up an outdoor bar?
Setting up a bar involves several steps. Begin with planning its layout and design, gathering materials and tools needed for construction, then building the foundation, frame, and roof as well as seating, lighting, and electrical elements before weatherproofing it all for an appealing space.
How do you waterproof a bar top?
To waterproof a bar top, choose an appropriate weather-resistant sealant suited for its material (wood, concrete, etc) and follow the manufacturer’s instructions on its use. Apply an even coating over its entirety until dry allowing enough time for complete protection against moisture and the elements.