Have you ever wished for A way To keep an eye On your home even when you’re miles away? Look no further than the incredible Simplisafe Outdoor Camera. This state Of the art device combines cutting edge technology With user-friendly installation, Making it the perfect addition To any home security system. In this comprehensive guide, We’ll walk you through the step By step process Of how to install A Simplisafe Outdoor Camera So that you can start protecting your property With ease. Get ready To discover A whole new level Of Convenience And peace Of mind!
Why Is Outdoor Security Important?
Outdoor security holds immense importance in safeguarding Our homes And loved ones. It acts as the first line Of defense against potential threats, Deterring trespassers And burglars from entering your property. Beyond preventing break-ins, Outdoor security systems offer protection against vandalism, Package theft, And other nuisances. They provide valuable insights into any suspicious activities around your premises, Allowing you To take swift action if necessary.
How Much Does SimpliSafe Cost?

The cost Of SimpliSafe can vary depending On the specific package And components you choose To suit your home security needs. SimpliSafe offers A range Of options, Starting with their basic entry-level package, Which typically starts At around $245. This package includes essential components like A base station And door/window sensors. If you require more advanced features Or additional sensors, Such as motion detectors, Cameras, Or smart locks, The cost will increase accordingly. Monthly monitoring plans Are also available, Starting at approximately $19.99, offering professional monitoring And extra features For enhanced security.
Choosing The Right Location
One important consideration when deciding On a location for your Simplisafe outdoor camera is visibility. You want To ensure that anyone approaching your property will Be aware Of its presence. Placing it in an area where It is easily seen can act as A powerful deterrent, Making would-be burglars think twice before attempting anything.
Additionally, Consider avoiding spots with obstructions such As shrubs Or trees that could block the camera’s view. Another factor To keep in mind Is the vulnerability points around your home. Identify areas that are susceptible To break-ins, such As windows Or back doors, And position your SimpliSafe outdoor camera accordingly.
Tools You’ll Need
- Screwdriver
- Drill
- Level
- Ladder
- Cable Clips
Installation Steps
01. Power Off

As part Of your home security improvement plan, It’s crucial that all electrical connections in the area are switched off before starting installation. Doing this ensures both your safety And any potential mishaps With any potential electrical hazards that might occur while installing. Furthermore, Switching off devices Or lights near the installation site minimizes interference So you can concentrate On setting up your outdoor camera with precision and safety. Taking this simple measure Is one step toward increasing home security.
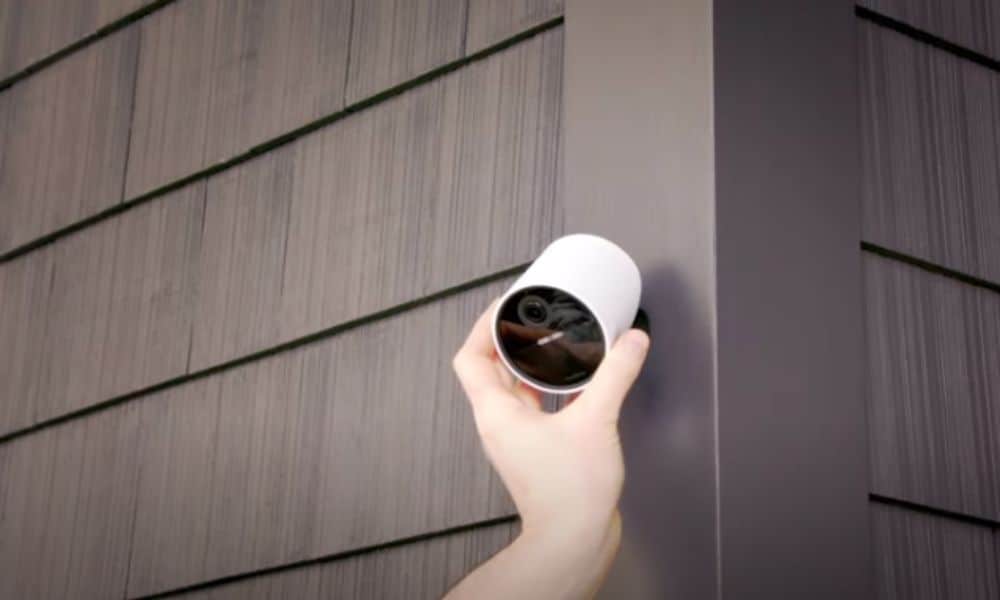
02. Connect The Mount
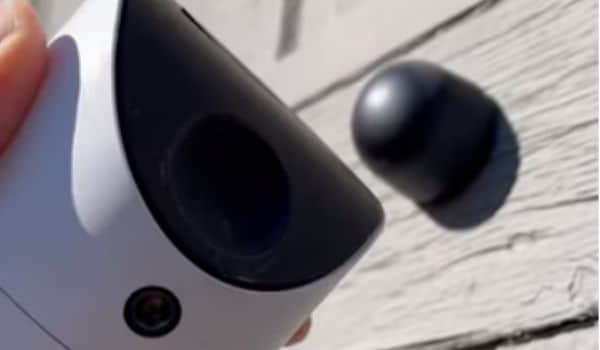
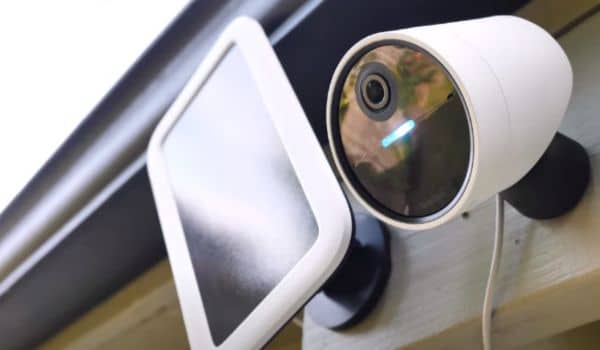
Mounts provide the foundation of your camera, So it is crucial that they Be securely attached in their chosen locations. Use the included screws And anchors To securely fasten it To walls while leveling And tightening any screw threads For level attachment. When the mount is secure in its place, Simply connect your camera using its mounting plate. Align it according To the desired field of view, And attach the camera lens holder. Achieve maximum home security And peace Of mind by mounting properly connected outdoor camera systems.
03. Wiring
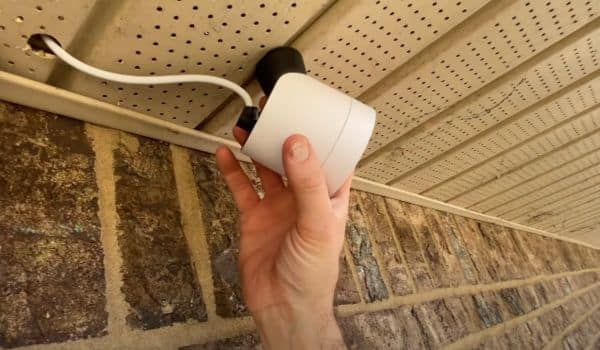
Wiring plays A pivotal role in the installation Of any electrical Or electronic device, Including your outdoor camera. During this phase, You’ll connect the camera To the power source and, If applicable, To your home’s Wi-Fi network. Carefully follow the provided instructions To ensure the proper connection Of power cables And any data cables required For your camera. By meticulously handling the wiring, You’re one step closer To a fully operational outdoor camera system that enhances your home’s safety And surveillance capabilities.
04. Set Up The Base Station
The base station serves As the heart of your security network, Connecting all sensors, Cameras, And other devices together. To set it up, Plug it into A power source and your home’s internet connection before following the user manual Or setup guide To link the base station with your SimpliSafe account. Proper configuration of this essential element Of security plays A pivotal role in seamless communications among components An essential factor when devising your overall security strategy.
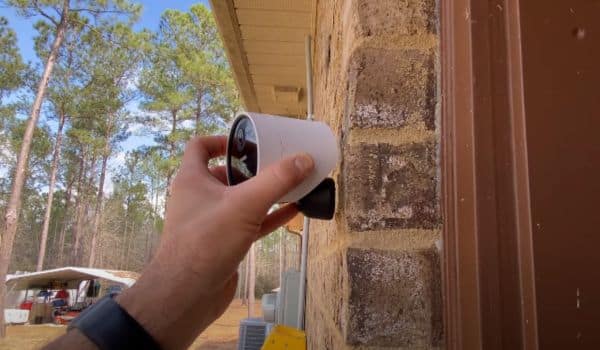
05. Adjust The Angle
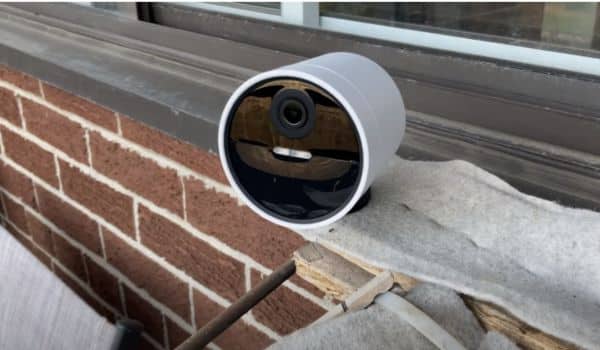
Once you securely mount the camera, Take the time To fine-tune its position To capture the desired field Of view. Ensure it aims at the areas you want To monitor, Whether it’s your front door, Driveway, Or any other specific location. Make adjustments For both the vertical And horizontal angles To get the best coverage. It’s essential To avoid obstructions like trees Or walls that may block the camera’s line Of sight. This meticulous angle adjustment ensures that your outdoor camera provides clear, unobstructed views.
06. Power On
After connecting the camera To the power source And completing all the necessary adjustments, Ensure that It’s properly powered on. This action activates the camera, Allowing it To start recording And transmitting footage To your central hub Or mobile device. Once powered on, you can further customize settings, Such as motion detection And alert preferences.
07. Network Setup
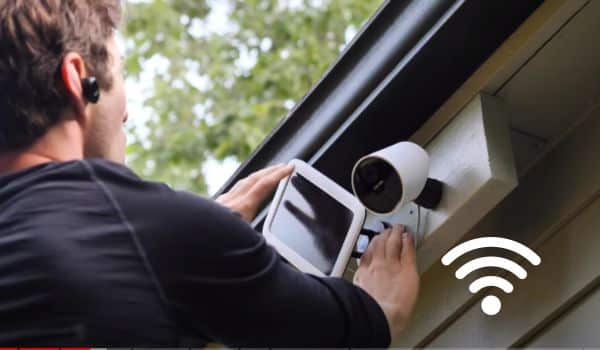
Installing your camera requires connecting it To your home’s Wi-Fi network. This setup enables it To communicate with its central hub and other connected devices, Providing remote access And real-time monitoring capabilities. Be sure To adhere To manufacturer instructions closely as ensuring A stable And secure network connection is key For its effectiveness.
08. SimpliSafe Outdoor Camera Settings
These settings allow you to tailor features like motion detection sensitivity, alert notifications, and recording options. By fine-tuning these features on the camera, you can ensure it captures relevant footage while reducing false alarms. Furthermore, scheduling recordings, controlling infrared night vision, or activating two-way audio communication are also options available to you.
09. Finish Pairing And Test Your System
Once paired, Conduct thorough system tests To confirm that sensors, Cameras, And alarms function correctly. Trigger motion detectors, Test entry sensors, And simulate various security scenarios To make sure your system responds As expected. This rigorous testing phase helps you identify And address any potential issues before relying On the system for real security.
10. Install Simplisafe Motion Sensor
These sensors Are designed To detect any movement within their range, Providing An additional layer Of protection for your property. To install one, Select an optimal location with A clear line of sight To the area you want To monitor. Attach the sensor using the provided adhesive Or screws And ensure it’s securely mounted. After installation, You can adjust the sensitivity And settings through the SimpliSafe app To fine-tune the sensor’s performance To your specific needs.
How To Connect Simplisafe Camera To Wifi
Start by plugging your camera in And placing It within range Of your Wi-Fi network. Then follow the manufacturer’s instructions To access its settings via the SimpliSafe app Or web portal. In these settings, You’ll find An option To connect To a Wi-Fi network. Select it, Enter password details, And follow the on-screen prompts until the setup Has been successfully completed. When connected successfully, Your SimpliSafe camera Can transmit live footage And alerts directly To your device, Providing remote access And real-time monitoring capabilities.
Conclusion
By following the detailed guidelines And using the right tools, You can ensure A smooth And effective installation process. From powering off electrical components To carefully adjusting the camera’s angle And pairing It with the central hub, Each step is essential in creating A robust security system. Furthermore, Customizing settings And conducting thorough testing ensure that the system operates optimally, Providing the protection And peace Of mind you seek.
Faqs
Is Simplisafe Easy To Install?
Yes, SimpliSafe is known For its user-friendly design And straightforward installation process. Most users find It relatively easy To install their SimpliSafe home security system, Including cameras And sensors, By following the provided instructions And using basic tools.
Can Simplisafe Camera Be Mounted Outside?
Yes, SimpliSafe offers outdoor camera models specifically designed For outdoor use. These are weather-resistant And can Be safely mounted outside To monitor the exterior Of your home, Ensuring comprehensive security coverage.
How Do I Connect My Simplisafe Camera?
- Power on the camera And ensure it’s within range Of your Wi-Fi network.
- Access the settings through the SimpliSafe app Or web portal.
- Select your Wi-Fi network And enter the network password As prompted.
- Follow the On-screen instructions To complete the setup. Once connected, It will transmit live footage And alert your device.
How Long To Charge Outdoor Camera Battery
Are designed To be powered by a rechargeable battery. The exact charging time may vary depending On the model And usage, But it typically takes A few hours To fully charge the battery. SimpliSafe recommends checking the battery status through the app For accurate information on its charge level And expected usage duration.