Have you ever found yourself staring At your outdated kitchen faucet, Dreaming of A more stylish And efficient upgrade? Well, It’s time To turn those dreams into reality By removing that old Delta faucet And making way For something better. Whether it’s because Of a leak Or simply out of A desire For a change, Knowing how to remove a Delta kitchen faucet Is an essential skill every homeowner should have in their toolkit. Get ready To tackle this DIY project head-on as we guide you through each step with expert tips and tricks.
Why Clogged Aerator Delta Faucet

A clogged aerator in A Delta faucet can be A frustrating situation To deal with. It not only affects the water flow but also causes splashing And uneven distribution of water. One Of the main reasons for A clogged aerator Is mineral deposits that accumulate over time. These deposits, Often made up Of Calcium And lime, Can build up On the aerator screen, Leading To reduced water flow. To remove A Delta tap, you need To first locate the aerator at the End Of the spout.
Tools And Materials Required
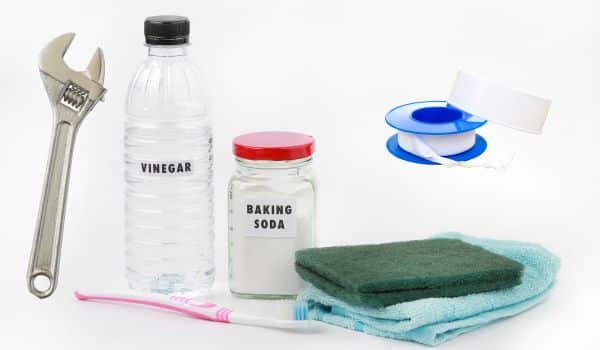
- Adjustable wrench
- Plumber’s tape
- Bucket or container
- Cleaning brush or toothbrush
- White vinegar (optional)
- Replacement aerator (if needed)
- Towel or rag
Steps To Follow
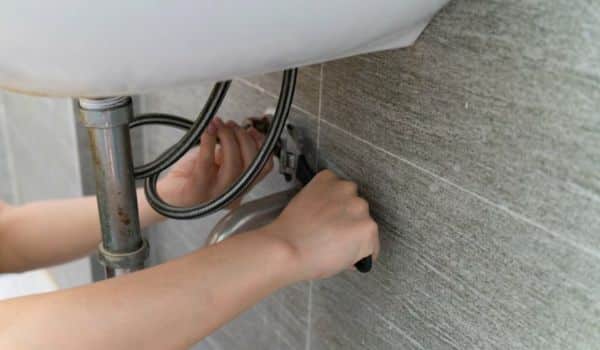
Step 1: Turn Off The Water Supply
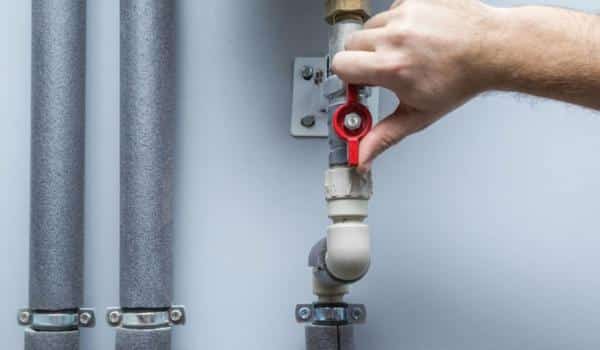
This is crucial To prevent any water from flowing while you work On removing the faucet. Locate the shut-off valve under the sink And turn It clockwise until it is fully closed. If you can’t find the shut-off valve For your kitchen tap, You may need To turn off the main water supply To your home temporarily.
Turning off the water supply not only ensures A dry working environment but also prevents any potential accidents. Or damage that may occur if hot Or cold water starts running unexpectedly. It’s important To follow this step diligently. Failing to do so could lead to An unwanted mess and unnecessary frustration.
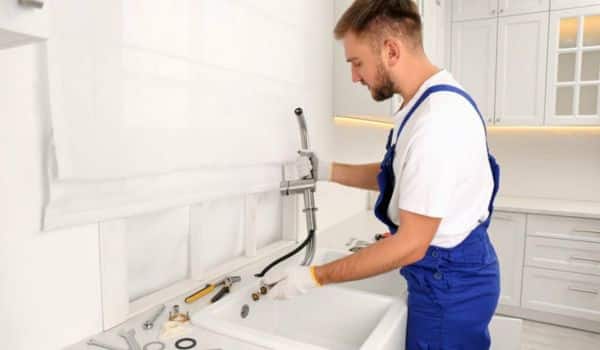
Step 2: Disconnect The Supply Hoses
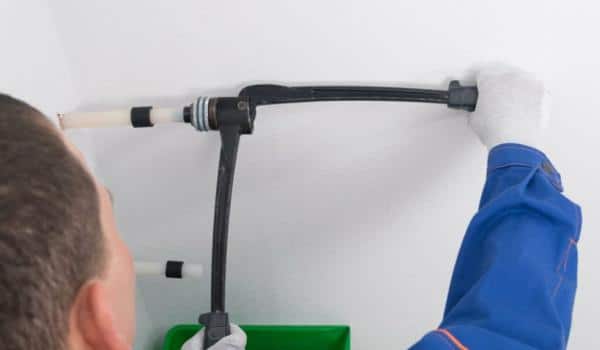
Step two in uninstalling your kitchen faucet involves disconnecting its supply hoses. Which links your sink’s faucet with shut-off valves And provides water flow into your sink. Carefully loosen any nuts securing the supply hoses To the inlet ports On the tap using An adjustable wrench. Be prepared For some residual water in the hoses, Once done. Gently detach the supply hoses from the tap itself, Thus cutting their connection from the water sources.
Step 3: The Supply Hoses Must Be Removed

Use an adjustable wrench To carefully unthread the nuts that secure supply hoses To the faucet’s inlet ports. Pay special attention not To cause any damage To either the hoses Or the tap itself. After loosening them, Carefully pull apart And unhook supply hoses from each port ensuring full disconnection between the water source And tap.
Step 4: Remove The Retaining Plate Or Securing Nuts
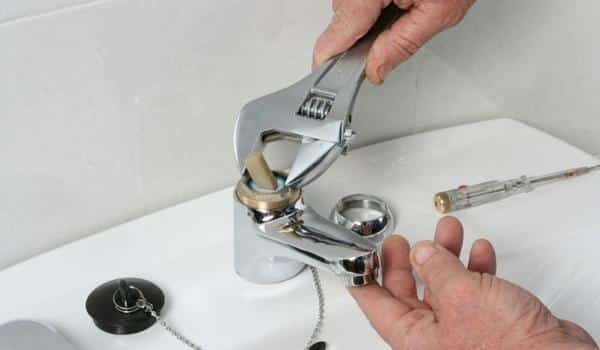
As part of your kitchen faucet removal, the next step should involve unfastening and removing its retaining plate or securing nuts. -Elements that keep the faucet secured on the sink – with an adjustable wrench. Carefully unfasten and remove these parts, and make sure they remain stored safely should you decide to reinstall or change out this model in future installations.
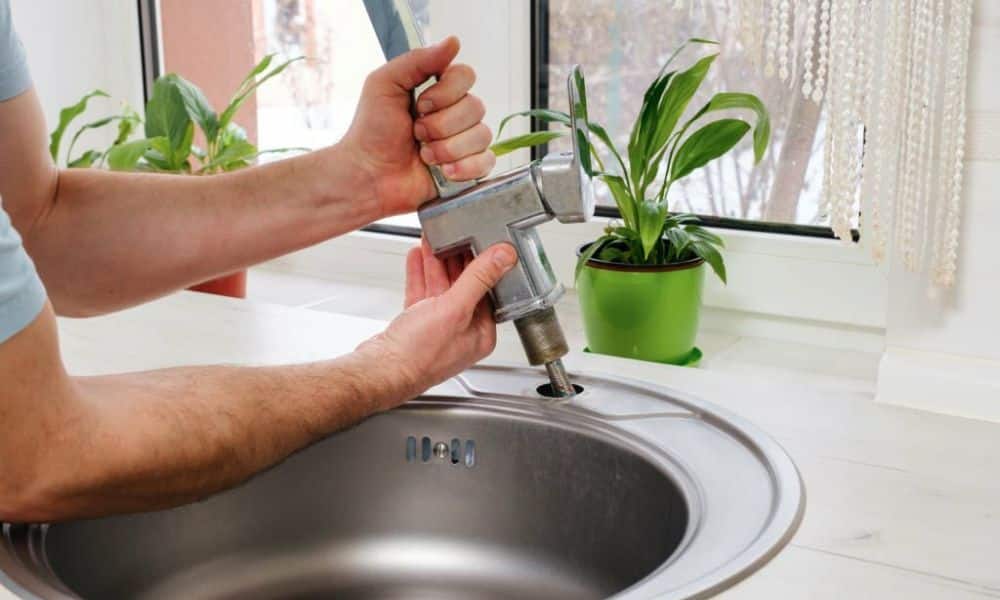
Step 5: Lift Out The Delta Faucet
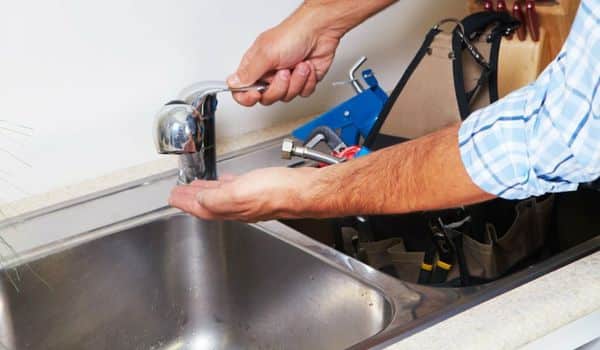
With the retaining plate Or securing nuts successfully removed, You’re now ready To liberate your Delta tap. Carefully lift the tap upward And away from the sink. Be attentive To any lingering water that might drain from the faucet Or supply lines during this process. Depending On the tap type, There might Be some resistance, But with A gentle And steady hand. You’ll be able To detach the tap completely.
Step 6: Removing Quick-connect Fittings
Your focus turns To any quick-connect fittings that may Be in place. Quick-connect fittings simplify the installation process, But now it’s time To reverse the process For removal. Carefully disconnect these fittings By pushing in the release tabs And gently pulling the connections apart. Handling this step with precision Is Important To avoid damaging the fittings, As you may reuse them when installing A new tap. Once you detach the quick-connect fittings, Your Delta faucet Is now completely free from your sink.
When Should I Call A Plumber Instead?

DIY faucet removal may Be cost-effective for some homeowners. But in certain situations, It can be wiser To enlist professional help instead. If you lack the necessary tools, Experience, Or confidence To perform this task by yourself, It would be prudent To call in An expert instead. Likewise, If complications arise such As stubborn Or corroded fittings that need removal. Also, consult A plumber if your tap removal project involves larger plumbing work Or if you suspect any underlying plumbing issues. Their expertise ensures it’s completed efficiently thus avoiding potential water damage Or costly repairs.
Delta Kitchen Faucet Installation
Installing A Delta kitchen faucet Can breathe new life into any kitchen. Once you have removed the old tap, Start the exciting journey Of installing your brand-new Delta faucet by carefully following the manufacturer’s installation instructions And ensuring that the mounting holes of its mounting arms align with the pre-drilled holes On your sink.
Secure the tap to its desired spot, Reconnect quick-connect fittings, And supply hoses, And Secure nuts Or retaining plates As necessary. Tighten all nuts Or plates until tight enough. Turn on the water supply And check For leaks – With the proper tools and An organized approach. Installing faucets can be A rewarding DIY project that adds increased functionality And aesthetics To your kitchen.
Conclusion
Removing a Delta kitchen faucet Can be A relatively simple process If you follow the steps outlined in this article. By gathering the necessary tools, Shutting off the water supply, And carefully disconnecting the various components, You can successfully remove your old tap And prepare For A new one. Remember To take your time And be cautious throughout the process To avoid any damage Or accidents. With these instructions in mind, You will Be well-equipped To tackle this DIY project And update your kitchen with A shiny new faucet.
Faqs
Is Delta Responsible For The Leakage Of The Faucet?
– No, Delta cannot Be held directly responsible For faucet leaks As they manufacture And provide high-quality faucets that Are designed to be leak-proof.
How To Keep The Nuts Clean For A Longer Time?
To extend the longevity of nuts in your plumbing fixtures, regularly clean them using a soft toothbrush or soft-bristled broom to eliminate surface dirt and mineral buildup. A water softener may help lower mineral levels. For stubborn deposits soak nuts in a vinegar/water solution before rinsing thoroughly afterward.
How Do You Remove A Delta Kitchen Faucet Handle Without Screws?
To remove a faucet handle without visible screws, locate and loosen/remove its set screw hidden beneath a cap or cover on the handle. Pry away gently on this cover until you discover its set screw. Loosen/remove using the appropriate tool; lift off the handle.