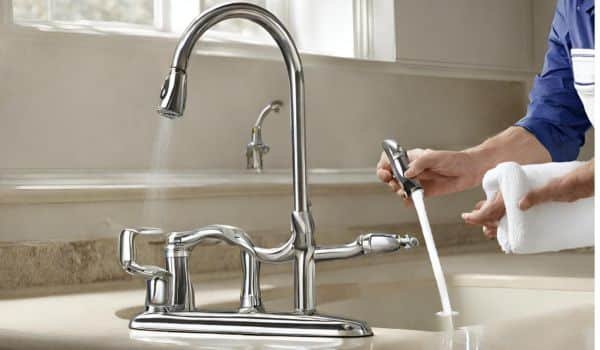
Have you ever found yourself struggling with An old, Stubborn kitchen faucet that just won’t budge? Don’t worry, We’ve all Been there! But fear not – How To Remove A Moen Kitchen Faucet With Sprayer Is easier than you think. In this article, We’ll take you through the essential steps needed To successfully remove that outdated eyesore From your sink. With our expert advice And simple instructions, You’ll be able To tackle this home improvement project like A pro in no time. Get ready To bid farewell To leaks And hello To An upgraded kitchen aesthetic!
What Is A Moen Kitchen Faucet

A Moen kitchen faucet is A high-quality And popular fixture designed To enhance the functionality And aesthetics Of your kitchen sink. Moen is A well-known brand in the plumbing industry, Known for its innovative And durable products. These kitchen tap come in various styles, Finishes, And configurations To suit different design preferences And needs.
Why Remove A Moen Kitchen Faucet With Sprayer?
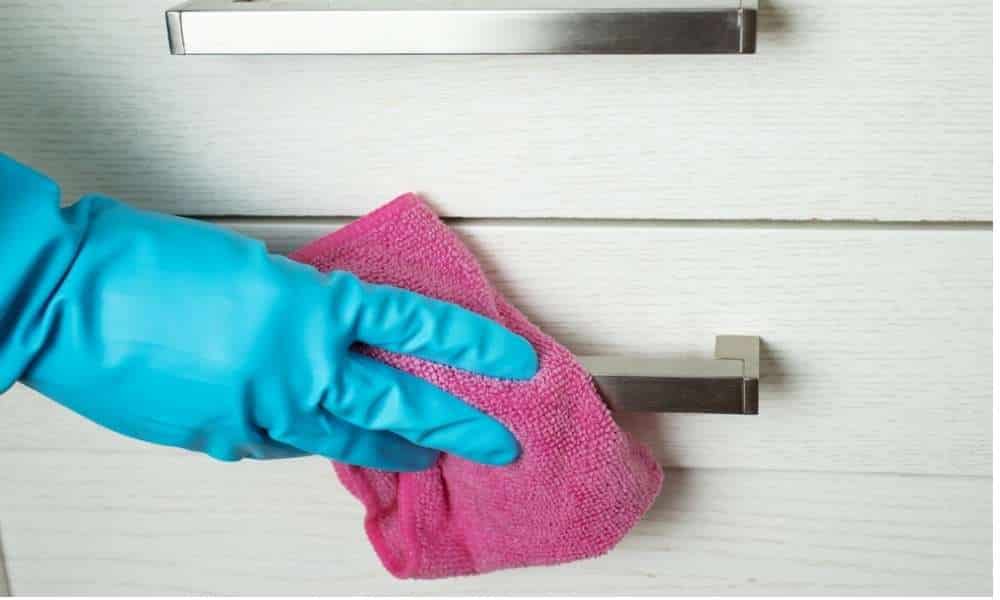
One common reason is For repairs Or replacement. If your tap is leaking, Has an intermittent sprayer, Or shows signs Of wear and tear. Removing it may Be the solution To these problems. Furthermore, Renovating your kitchen requires you To upgrade Or change out its Moen tap. Doing this may involve taking some steps such As taking it out So it can Be cleaned properly Or maintained thoroughly so it continues To operate At optimal levels. Some homeowners also choose To do this To maintain and ensure optimal performance Of their kitchen faucet.
Moen Faucet Removal Tool
- Adjustable Wrench
- Moen Cartridge Retainer Removal Tool (for some models)
- Plumber’s Tape
- Bucket or Towel (for catching any water)
- Safety Glasses (for eye protection)
- Flashlight (for better visibility in tight spaces)
Step 1: Shut Off The Waterline
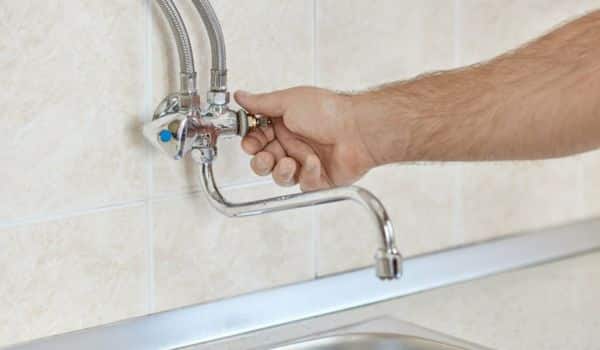
Before beginning to uninstall a Moen kitchen faucet with a sprayer. The first and foremost step should be turning off its waterline. Doing this will ensure no leakage of water during the removal process or mess. Locate shut-off valves beneath your sink typically located along water supply lines and turn them clockwise (righty tighty) to close them thereby cutting off the water supply to the tap. For safety’s sake, It would also Be wise To double-check by turning the handles Of the faucet off To ensure there’s no water flow during the removal process.
Step 2: Dry The Pipes
Use a cloth Or towel To absorb any remaining water in the pipes And around the tap connections. This precaution Is essential To prevent water from dripping onto the floor Or into the cabinet while you’re removing the faucet. Keeping the area dry not only ensures A cleaner workspace But also reduces the risk of slips And potential damage To the surrounding area.
Step 3: Extract The Faucet’s Handle
This can typically Be done by locating the set screw On the handle, Which is often concealed beneath a decorative cap or button. Use an Allen wrench Or screwdriver To remove the set screw. Allowing you To detach the handle From the faucet’s cartridge Or valve. Depending on the tap model, The handle may lift off easily, Or you may need To gently tap it with A mallet To release it from any corrosion Or mineral buildup.
Step 3: Detach The Sprayer Hose
The next step is To detach the sprayer hose. This hose Is typically connected To the faucet through A coupling nut Or a quick connect fitting. Depending on your tap model, You may need pliers Or an adjustable wrench To loosen and disconnect the hose. Make sure To place A bucket Or towel beneath the hose To catch any residual water that may come out during the detachment.
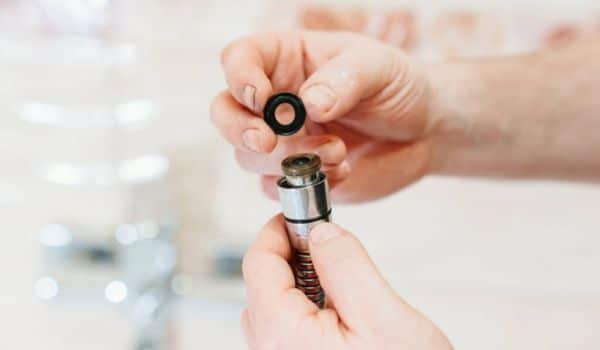
Step 4: Take Out The Plastic Part
This plastic cover Is typically located On the base Of the faucet. Serving both functional and aesthetic purposes. Carefully pry it off using A screwdriver or A putty knife. This step provides access To the mounting hardware that secures the tap in place. Removing the plastic part is A necessary component Of the removal process. As it allows you To reach the critical components required For detaching the tap from the sink Or countertop.
Step 6: Take Off The White Ring
Mounting nuts, known as white rings, Are located underneath faucets To secure them in place. To remove one, Use either An adjustable wrench Or a pair Of pliers And turn it counterclockwise. This loosens its hold On the mounting nut And allows you To separate the tap from the sink Or countertop By loosening the mounting nut. Loosening the mounting nut completely, Granting access To final components like A cartridge. And valve which can then Be disconnected For final tap removal.
Step 5: Take Out The Mechanism
This mechanism Is the heart Of your faucet, Controlling the flow Of water And temperature. To access it, Unscrew or detach the fasteners Or clips holding it in place. Once you’ve done this, Carefully lift out the cartridge Or valve assembly. This step is pivotal in the removal process As it allows you To fully disengage the tap from its mounting, Ensuring successful removal. With the mechanism out, You can proceed with any necessary repairs Or replacements, Or simply uninstall the tap completely.
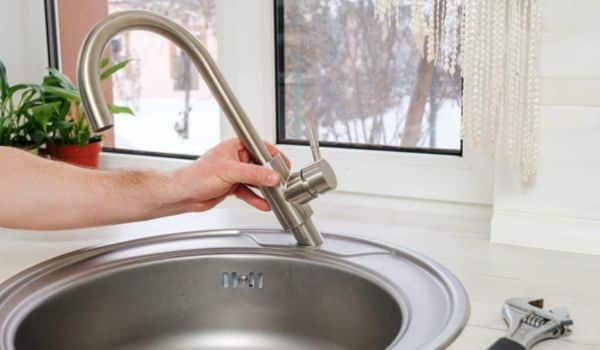
Step 7: Lift The Spout

In the final stages Of removing your Moen kitchen tap with A sprayer, You’ll need To lift the spout. The spout Is the part Of the faucet where the water flows out And is usually connected To the main faucet body. To lift it, Carefully pull upward while applying even pressure, As it may Be snug due To years Of use And mineral buildup. This action separates the spout from the faucet’s body, Allowing you To access Any remaining components For complete disassembly.
Step 8: Install A New Kitchen Faucet

- Gather Necessary Tools: Before beginning, Be sure To gather the required tools And components, Including the new tap, Adjustable wrench, Plumber’s tape, And bucket For installation.
- Switch off Water Supply: To switch off your kitchen sink’s water source, Close all shut-off valves located beneath It by closing their respective shut-off valves.
- Remove Old Faucet: Follow the steps outlined earlier in this guide For disassembling An older tap. Detaching all components up until its base.
- Prepare the Sink: Clean out and disinfect your sink area To rid it Of any dirt, Debris, Or old sealant. Apply the plumber’s putty Or silicone sealant around each tap hole.
- Position the New Faucet: Insert the new tap into its holes, Aligning it with its mounting studs Or deck plate.
- Secure with Mounting Hardware: Utilizing the included mounting hardware, Securely fasten your tap in place By tightening Its nuts from under your sink.
- Connect Water Supply Lines: Connect hot And cold water supply lines To their respective valves using plumber’s tape For tight seal.
- Attach the Sprayer Hose: If your new tap features A sprayer, Connect its sprayer hose To its sprayer nipple.
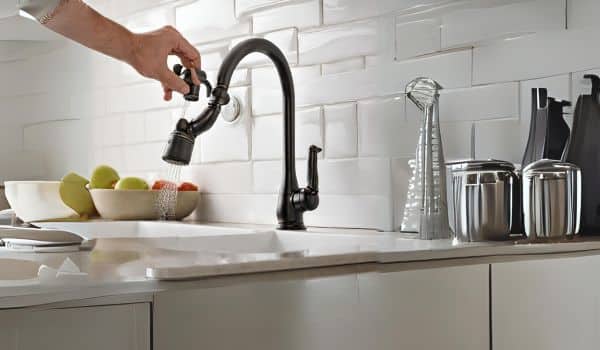
- Test for Leaks: Carefully turn On the water supply and inspect For any signs Of leaks At connections. Tighten any loose fittings As necessary.
- Operational Verification: Test your new tap By turning both hot And cold water sources on, As well As using its sprayer, And ensure it functions optimally.
Tips For Repairing A Faucet

Once you’ve identified the specific issue – Be it leak, Drip, Or reduced water flow – It is imperative that you switch off your faucet’s water source in order To facilitate A safe repair without creating more wastewater than necessary. Once that step has been accomplished, Gather any necessary tools Or replacement parts (like wrenches And screwdrivers As well As new washers/O-rings).
Cleaning components And removing mineral buildup Is Key To restoring optimal functionality. Reassembling the faucet requires applying plumber’s tape On threaded connections in order To avoid leaks while testing For leaks after repair should also Be conducted For optimal functioning.
Conclusion
Removing a Moen kitchen faucet with A sprayer may seem like A daunting task, But with the right tools And steps, It can Be done easily.
By following the simple instructions outlined in this article, You can confidently remove your old tap And prepare For the installation of A new one. Remember To turn off the water supply before starting And take your time To avoid any damage Or mishaps. With A little patience And effort, You’ll have your old tap removed in no time.
Faqs
Can I Remove A Kitchen Tap Without Any Prior Plumbing Experience?
Removing a Moen kitchen tap is A task that can Be tackled by individuals with little To no plumbing experience, Provided they follow the correct steps And have the necessary tools. It’s essential To turn off the water supply And take your time To avoid damaging the faucet Or your plumbing. Moen also provides user-friendly instructions in their manuals
How Do I Remove The Moen Quick Connect Adapter?
Start by turning Off the water supply. After that, Locate the quick connect connection, Which is typically near the sprayer hose. Depress the white Or gray tabs on either side Of the quick connect fitting And gently pull the hoses apart. This should release the adapter, Allowing you To remove it from the tap.
Is It Possible To Remove A Moen Faucet Without Turning Off The Water Supply?
No, It’s not advisable To remove the faucet Or any tap without turning off the water supply first. Failing To do So can result in water leakage, Creating a mess, And potential damage. Always shut off the water supply At the shut-off valves beneath the sink To ensure A safe And clean removal process.
What’s The Benefit Of Removing And Cleaning My Moen Kitchen Tap?
Over time, Faucets can accumulate mineral deposits And debris, Leading to reduced water flow and potential leaks. Cleaning the tap components And removing any blockages Can restore its efficiency And prevent costly repairs.