Unlocking the secrets of how To remove A Blink Outdoor Camera from its mount Is the focus of this guide. Whether it be For better surveillance angles Or maintenance purposes. Understanding this process Is vitally important. Here we offer step-by-step guidance On safely unplugging It from its mounting.
Before delving deeper, It’s essential To stress that your camera should Be disarmed And not actively recording. To reduce any accidental triggers And ensure peace Of mind during its removal. Therefore, Let’s explore how best To do that With Blink Outdoor Cameras.
What is a Blink Outdoor Camera
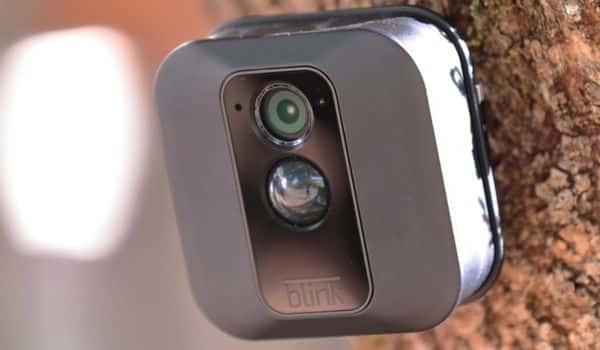
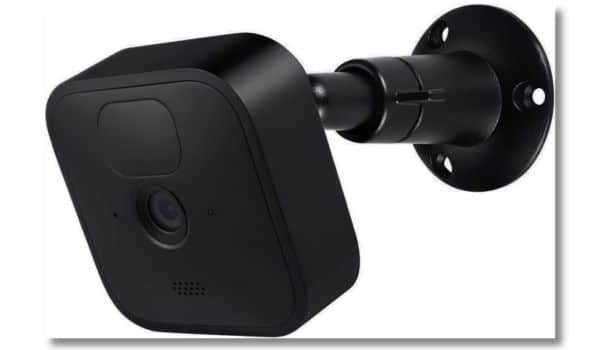
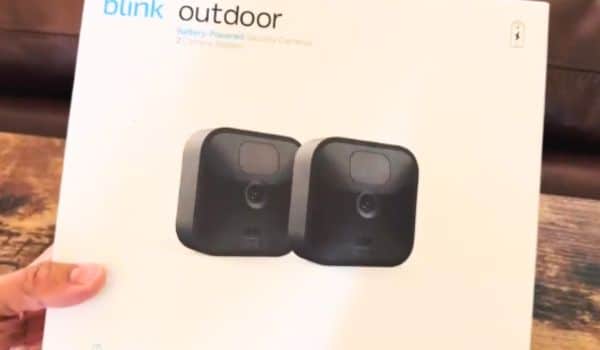
Blink Outdoor Cameras Are cutting-edge home security devices designed To offer comprehensive surveillance For the exterior Of your property. Renowned For their user-friendly setup And wireless operation. These have quickly become popular among homeowners looking To bolster their security.
Capturing high-definition video capabilities with infrared night vision. As well as battery power allows these To operate easily day And night – no wiring is needed either. Connected directly To Wi-Fi networks they enable remote monitoring from anywhere while offering real-time alerts allowing peace Of mind monitoring And peace Of mind from home. Providing real peace Of mind and peace Of mind reassurance.
How Many Blink Cameras Can You Have
How many Blink cameras you can have depends on which system you select. Blink offers various systems, Including Blink Mini, Indoor, And Outdoor models. In general, multiple It can be connected to one Blink Sync Module or Mini hub serving as the central hub. The exact numbers supported depend upon the model/version of the hub used. It is common to connect up to 10 or more Blink cameras per hub to form an effective surveillance network while still providing seamless monitoring/control over their operations.
Reasons To Remove Blink Camera From Mount
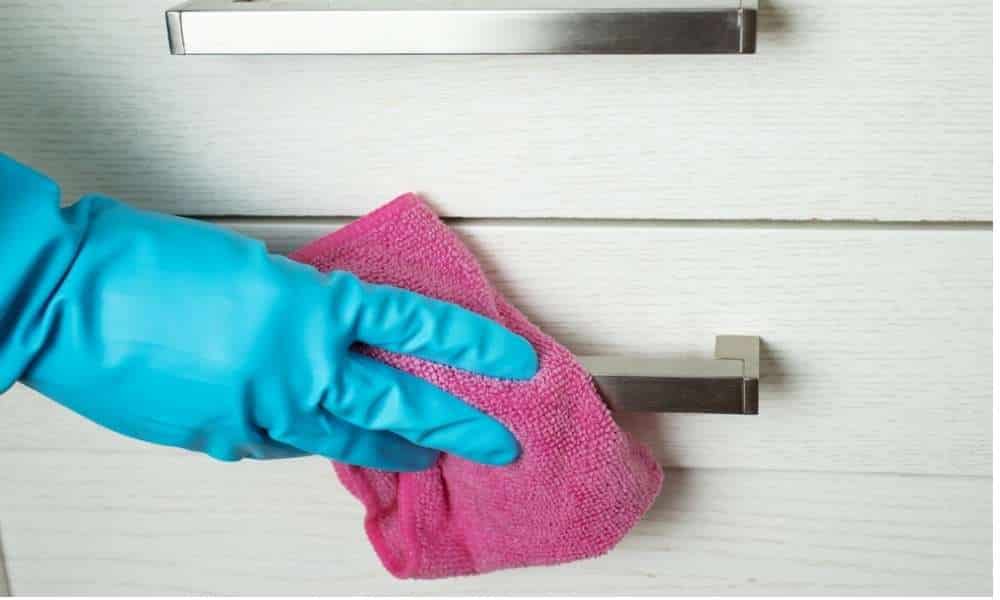
There are various reasons for which it may Be necessary To remove A Blink camera from its mount. Including improving coverage Or taking better photographs At different angles of your property. Maintenance and cleaning Are key parts of camera upkeep. Taking it out from its mount makes It more accessible. Furthermore, If you want To bring your Blink camera with you when moving locations. It may also be beneficial To remove it from its mount. When faced with technical issues Or troubleshooting issues, taking down the camera may help diagnose And resolve them more efficiently.
Tools You’ll Need
- Screwdriver
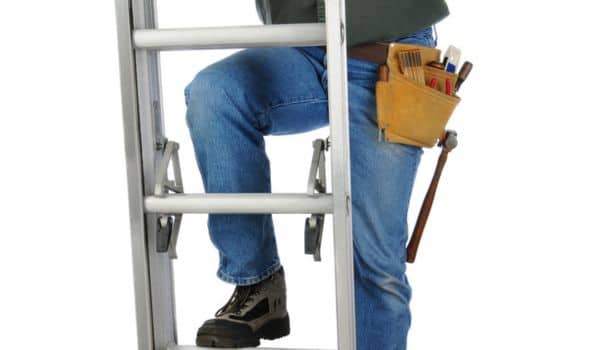
- Ladder or Step Stool
- Soft Cloth or Microfiber Towel
- Battery Removal Tool (if applicable)
- Spare Batteries
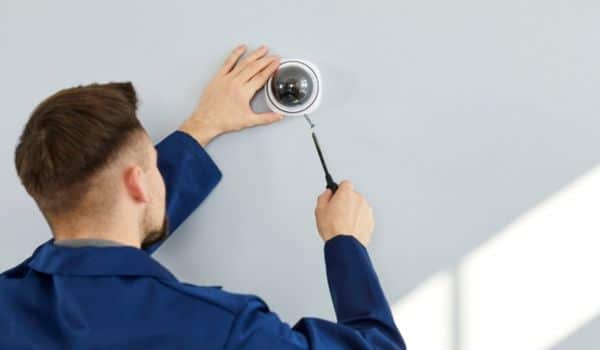
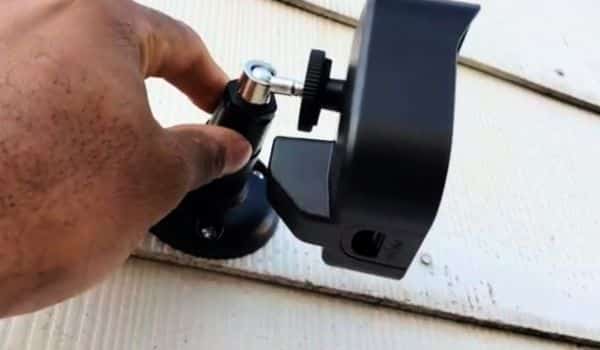
01. Get Closer To The Mount
The first step is getting closer to the mount itself. Approach the camera mount carefully, ensuring you have a steady footing if you’re using a ladder or step stool. This proximity allows you To have A clear view Of the cameras And the mounting hardware. Making it easier To access And work with the necessary tools. Remember to maintain A cautious And deliberate approach To ensure A safe and effective removal process.
02. Turn Off The Camera
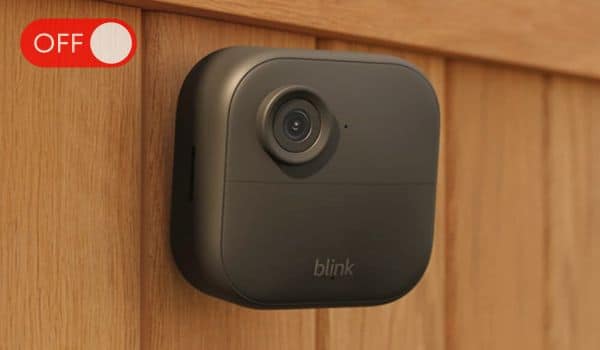
Before proceeding with the removal of your Blink camera from its mount. it’s crucial To ensure the camera is turned off. This step Is essential For safety And prevents any unintended activations Or recordings during the removal process. Depending On your camera’s model. You can typically disable it through the Blink app or by accessing the camera’s settings directly. By turning it off, You minimize the risk of triggering motion sensors or experiencing any interference. Allowing for A smoother and hassle-free removal experience.
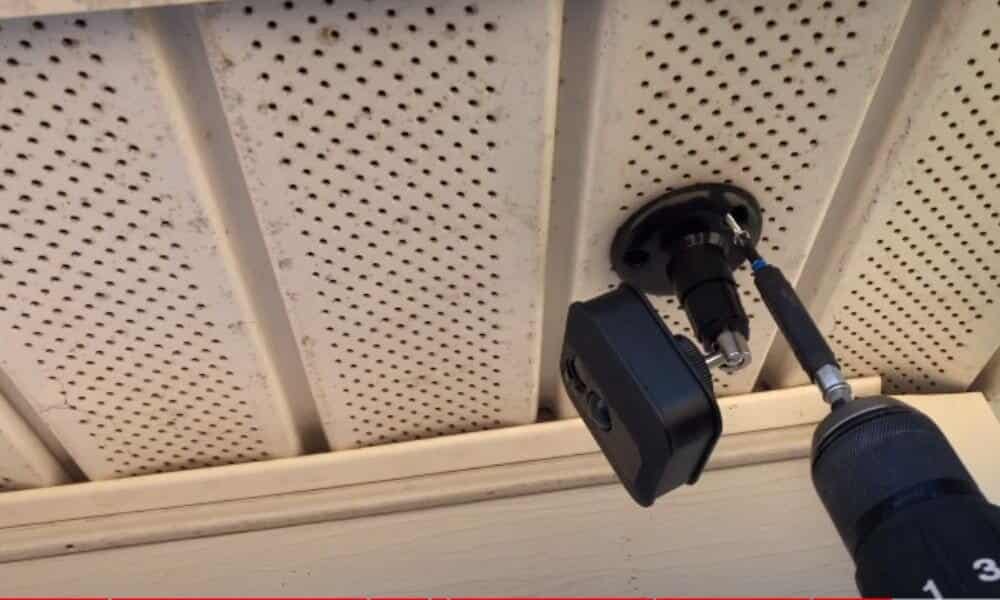
03. Remove The Screws
The crucial next step in removing your camera from its mount is the careful removal of the securing screws. Utilize an appropriate screwdriver, often a Phillips head or flathead. To gently loosen And unscrew the fasteners holding the camera in place. This part of the process requires a steady hand and patience to avoid dropping screws or causing any damage to the cameras or their mount. Once the screws Are fully disengaged. You’ll be able To detach the camera from the mount with ease, Ensuring A Smooth And hassle-free removal process.
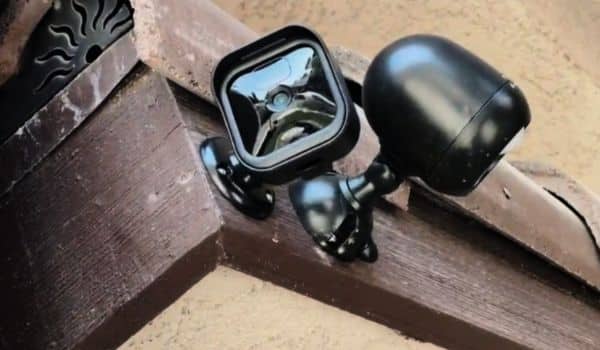
04. Detach The Camera
Now that you’ve successfully removed the securing screws. It’s time To delicately detach the cameras from their mount. This step requires A gentle touch To prevent any accidental damage. Hold the camera securely yet carefully, Then lift It away from the mount. Depending on your specific And mount design. You might need to slide the cameras off Or pivot it gently to release it. If there Are any connecting cables or wires, Be sure To disconnect them safely As you remove the camera. This cautious approach ensures seamless And trouble-free detachment. Allowing you To reposition Or maintain your cameras according To your needs.
05. Disconnect Cables
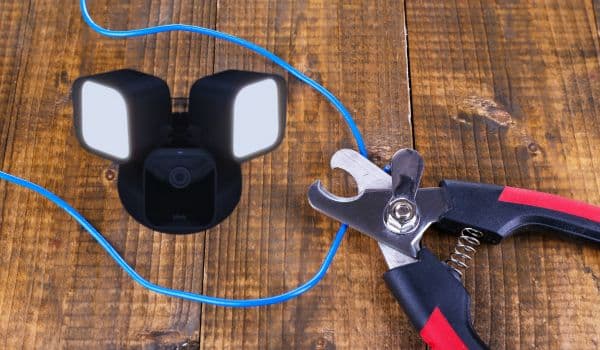
This step ensures A safe And hassle-free removal process. Gently trace the cables back to their connections, and with care, unplug them from the camera. This may involve disconnecting power cables, USB cables, or any other relevant connections depending on your setup. Pay close attention to the connectors to avoid damaging them during the disconnection. Once all cables are safely detached, you can proceed confidently with repositioning or maintaining your Blink camera as needed. Knowing that it’s free from any physical attachments.
06. Store Your Camera
After successfully removing your Blink camera from its mount, it’s crucial to store it properly. Begin by placing it in a secure and protected location. For added protection from the elements, it’s preferable to keep it indoors. If you intend to reinstall the cameras in the same spot in the future. Store the mount and screws together in a readily accessible place. Furthermore, ensure that the Is powered off To conserve its battery life during storage. By taking these measures, You ensure that your Blink cameras remain in optimal condition. Ready for reinstallation Or maintenance As necessary. Thereby extending its longevity For continued reliable security monitoring.
07. Blink Outdoor Camera Setup
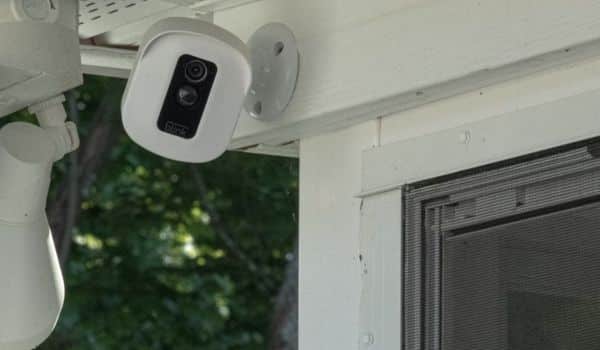
Setting up your Blink Outdoor Camera is a straightforward process that empowers you to bolster your home security effortlessly. To begin, ensure you have the Blink Sync Module or Blink Mini hub set up and connected to your Wi-Fi network. Then, place your Cameras in your desired location. Make sure it has a clear line of sight for optimal performance.
Next, Use the Blink app To add the cameras To your system, Following the step-by-step instructions provided. This typically involves scanning A QR code On the camera And configuring settings such As motion detection And video quality. Once your Camera Is successfully integrated into your system. You can enjoy the peace Of mind that comes With enhanced surveillance Of your property.
Best Settings For Blink Outdoor Camera
Optimizing the settings For your Blink Cameras Is essential To ensure It perform At its best for your specific security needs. Start by adjusting the motion detection sensitivity To avoid unnecessary alerts triggered By minor movements while still capturing important events. Set your camera’s video quality To A balance between clear footage and efficient storage usage, Typically 720p or 1080p.
Establish a suitable clip length For recordings To capture the desired duration Of events. Additionally, Enables notifications To stay informed Of any detected motion promptly. Finally, Consider scheduling To arm And disarm at specific times To align with your daily routine. By fine-tuning these settings, You can maximize The Effectiveness Of your Blink Outdoor Cameras In safeguarding your property while minimizing false alerts And conserving storage space.
How To Attach Blink Outdoor Camera To Mount
Attaching your Cameras To their mount is A fundamental step in setting up your home security system. Begin by ensuring that you are powered off To avoid any accidental activations during The process. Align the camera’s mounting bracket with the corresponding slots on the mount. Making sure they fit snugly together. Once aligned, Gently slide the camera into place until you hear A click or feel it securely attached.
Tighten the mounting screws with A suitable screwdriver, Being careful not to over-tighten. Verify that the Is level And aimed in the desired direction for optimal surveillance coverage. By following these steps, you can effectively attach your Cameras To their mount. Ready To provide reliable security monitoring for your property.
Conclusion
Its mount is A valuable skill For maintaining Or repositioning your home security system. It’s A straightforward process that begins with ensuring the camera Is disarmed And not actively recording To prevent accidental triggers. Carefully removing the securing screws. Detaching any cables, and gently lifting them from their mount are essential steps in this procedure.
Properly storing the cameras after removal ensures they remain in good working condition for future use. Whether you’re relocating your cameras, Performing maintenance, Or troubleshooting. These steps allow for A smooth And hassle-free removal process.