Have you ever found yourself staring at your Moen kitchen faucet single handle, wondering how on earth it could be so difficult to remove? Well, wonder no more! We have the ultimate guide that will demystify the process and make How To Remove Moen Kitchen Faucet Single Handle a breeze. With our expert advice and clear instructions, even if you’re not exactly Mr./Ms. Fix-It, you’ll be able to tackle this task with confidence. So put away those feelings of frustration and let us show you just how simple it can be to remove your Moen kitchen faucet single handle – no plumber required!
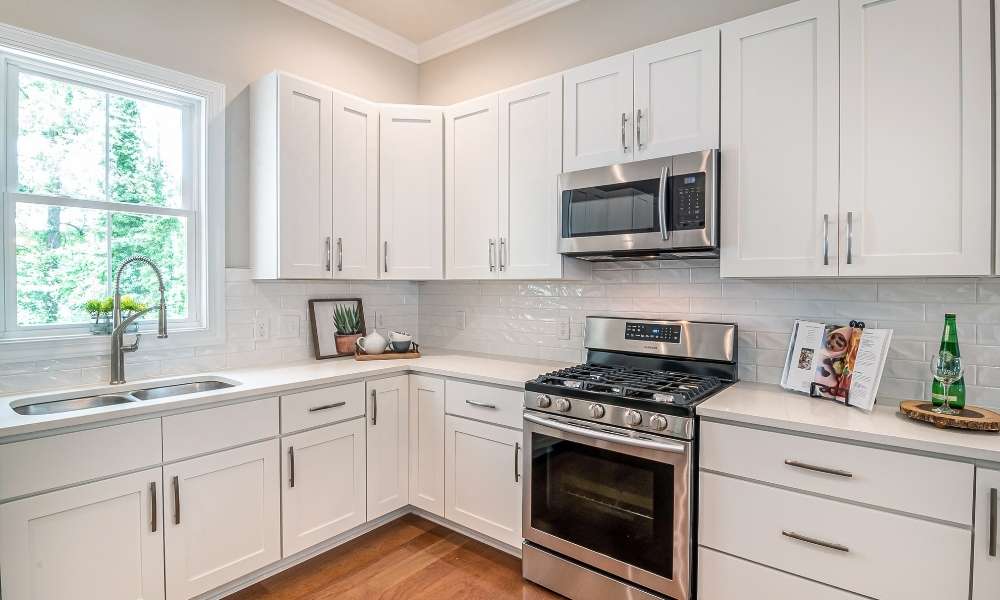
What Is A Basic Faucet

A basic faucet, Often referred To as a tap, is A fundamental plumbing fixture used To control the flow of water. It consists of A spout that dispenses water, A handle or handles To manage the flow And temperature, And various internal components like valves And seals To regulate water flow. Basic faucets come in A variety Of styles, materials, And designs To suit different purposes And aesthetics.
Gathering The Necessary Tools And Materials
- Adjustable wrench
- Screwdriver
- Moen Faucet Wrench
- Plumber’s tape
- Bucket
- Towels
- Plumber’s putty (if required)
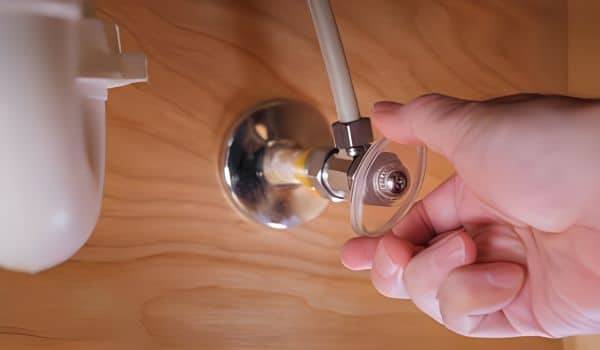
01. Shutting Off The Water Supply
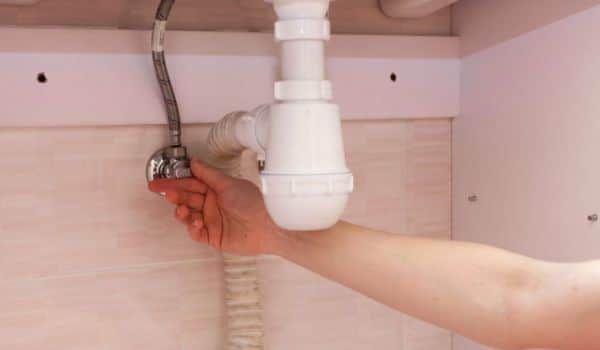
This preventive step ensures safety And avoids water-related complications during the task. Typically, The water shut-off valves can Be found beneath the sink. By turning these valves clockwise, You effectively cut off the water flow To the faucet. This precautionary measure minimizes the risk Of unintended water leaks And spillage while disassembling the faucet.
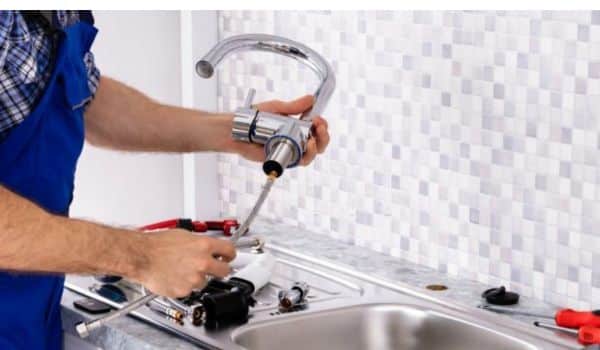
02. Disconnecting The Supply Lines
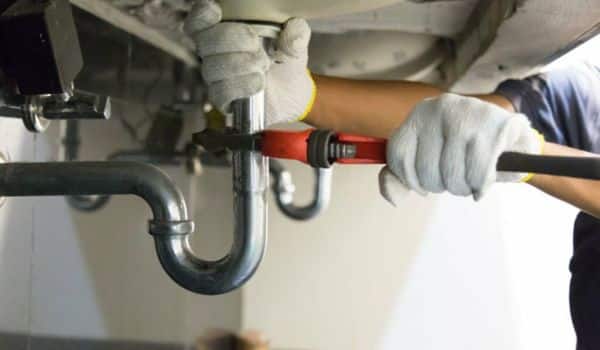
Once the water supply has been safely turned off, You can focus On this crucial task. Using an adjustable wrench, Carefully loosen And detach the supply lines from the faucet’s water inlets. It’s essential To exercise caution And have A bucket Or towel handy To catch any residual water that may escape during this process. By disconnecting the supply lines.
03. Removing The Faucet Handle

Locate and carefully unscrew the set screw, Usually hidden behind An ornate cap on the handle. Use an Allen wrench To take care in unscrewing It before gently pulling away from the faucet stem, While gently wiggling off the handle from its post. This may require patience And finesse As some handles might Be snugly in place but, Once the loosening Is complete, Should come off fairly easily. Removing this step exposes the cartridge For further maintenance Or replacement As necessary.
04. Unscrew The Bonnet Nut
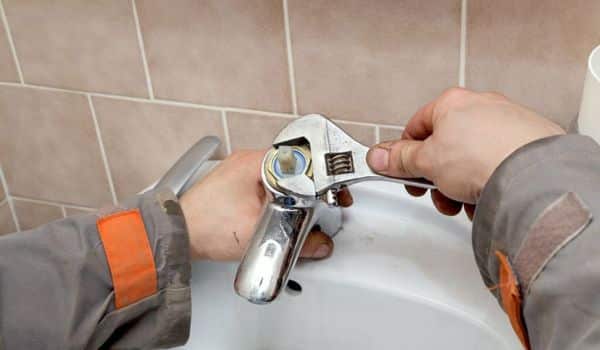
After removing the handle And exposing the cartridge, You’ll notice A bonnet nut securing the cartridge in place. To access the cartridge For maintenance Or replacement, Use an adjustable wrench Or a pair Of pliers To carefully unscrew the bonnet nut. It’s essential To exercise patience during this step And avoid overtightening Or damaging the nut, As it plays A key role in holding the faucet together.
05. Detaching The Faucet Spout

Once you have successfully removed the handle And unscrewed the bonnet nut, You will expose the faucet spout. Carefully grasping it in one hand while turning it counterclockwise Is enough To loosen its attachment from the body. However, This may require some effort As some spouts can Be tightly fitted To their respective tap bodies. Once loosed, Simply lift up and off Of its assembly To reveal its cartridge As well As other internal components – Detaching this piece is an integral part Of this process.
06. Unscrewing And Removing The Faucet Base

With the faucet spout removed, You’ll now have access To the faucet’s base, Which houses the cartridge And other vital components. Using an adjustable wrench Or pliers, Gently unscrew And detach the tap base From the mounting hardware. Take your time To ensure A careful And controlled removal process, As it allows For easy access To the cartridge For maintenance Or replacement. Once the tap base Is separated, You can address Any issues With your Moen kitchen tap single handle With Precision
07. Reattach The Handle
Start by positioning the cartridge back into its place Within the faucet body, Ensuring it’s properly seated. Once the cartridge Is secure, Carefully reattach the tap base, Tightening it using An adjustable wrench Or pliers. With the base securely in place, Slide the faucet spout over it And twist it clockwise To secure it. Lastly, Reinstall the handle by fitting It onto the tap stem And tightening the set screw with An Allen wrench.
08. Turn On The Water Supply
To do this, Simply locate the shut-off valves beneath the sink that were previously turned off. Now, Turn these valves counterclockwise To restore the water flow To the faucet. This action allows water To once again flow through the tap, Ensuring it’s in working order.
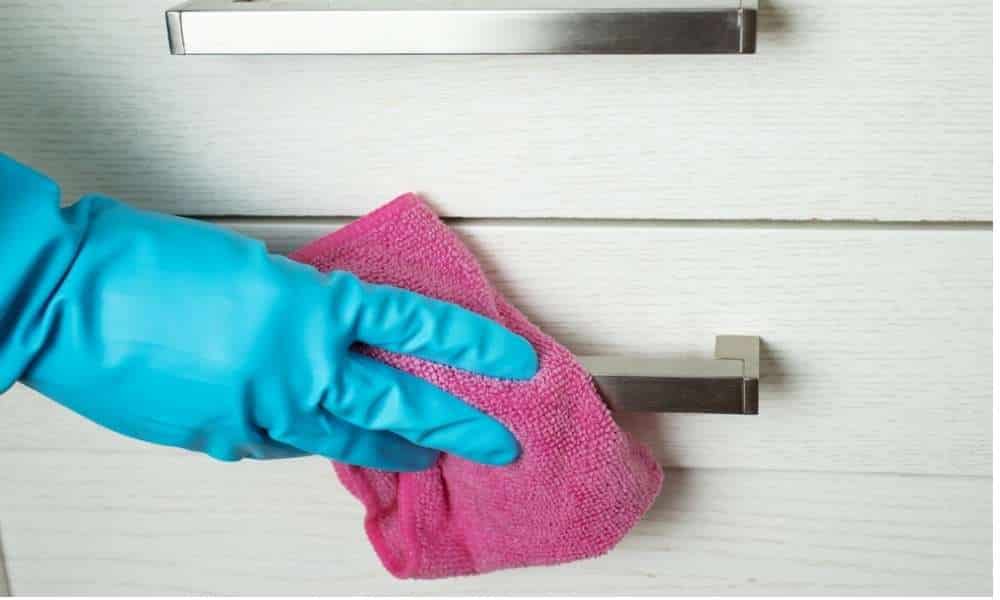
09. Cleaning And Finishing Touches

Wipe down the faucet And surrounding area To remove any Dirt, debris, Or water spots. A mild cleaning solution And a soft cloth work well For this task. Additionally, Double-check all connections And fittings To ensure they are snug and leak-free. Finally, Replace any decorative caps Or covers that were removed during the installation process To give the tap A clean And unified appearance.
10. Best Tipes For Moen Single Handle Kitchen Faucet Removal

- Ensure you have the necessary tools On hand, such as An adjustable wrench, Allen wrench, Pliers, And a bucket For any water drainage.
- Before starting, Shut off the water supply using the shut-off valves beneath the sink. This prevents Any water-related mishaps.
- Take clear photos Of the Tap before disassembly. This can serve as A helpful reference When reassembling the components.
- Handle each step with care And patience, especially when removing the handle, Bonnet nut, And other components To avoid damage.
- If you’re dealing with multiple parts, Label or organize them To ensure A seamless reassembly.
- If components are stuck due To mineral build-up Or corrosion, Apply a lubricant like penetrating oil To help ease the removal process.
- After reinstallation, Thoroughly check For any leaks And tighten connections if necessary.
Conclusion
Removing a Moen single-handle kitchen faucet may seem like A daunting task At first. But with the right tools And steps, You can easily accomplish it. By following the detailed instructions provided in this article, You can save yourself the cost and hassle Of hiring A professional plumber. Remember To turn off the water supply before starting the removal process. And take your time To ensure each step Is done correctly. With patience And persistence, You will successfully remove A Moen kitchen tap single handle And be able To replace it with A new one if desired.
Faqs
Can I Reuse My Old Moen Faucet?
In most cases, It’s not advisable To reuse An old Moen faucet when installing A new one. New tabs come with improved features, Finishes, And Technology, And using old taps may not provide the same functionality And appearance. Additionally, The old tap may have wear And tear that can affect its performance. It’s best To invest in new Moen taps For optimal results.
Do I Need To Turn Off The Main Water Supply?
Yes, It Is Essential To Switch Off the Main Water Source before Installing Or Removing A Faucet. This measure Is important in order to prevent leaks, spills, and potential damages during the installation process. You can usually find typical shut-off valves for water supply near your water meter Or under your sink – Make sure To fully turn off the main switch before starting any plumbing work.
Can I Install A New Faucet Without Professional Help?
Many individuals with basic DIY skills can install their new faucets without professional assistance. Most new taps come equipped with clear installation instructions, Online Tutorials, And guides providing guidance. The Complexity Of installation may depend On factors such As the model Of the tap used Or the plumbing experience. If unsure Or uncomfortable with the process It would Be wiser To seek professional assistance To ensure A successful And leak-free installation process.