Removing a recessed faucet aerator Can be A tricky task, Especially if you don’t have the proper tools. While some aerators can Be easily removed with A key, Others require A bit more effort. If you find yourself in this situation, Don’t worry – There are several methods you can use To remove A recessed faucet aerator without A key.
One of the easiest ways To remove A recessed faucet aerator without A key is to use A pair of pliers. Simply grip the aerator With the pliers and turn It counterclockwise To loosen it. If the aerator Is stuck, You can try using A bit of WD-40 Or another lubricant To help loosen it. Another method is To use A rubber band or A piece of duct tape To grip the aerator And turn it. These methods may require a bit Of extra effort, But they can Be effective if you don’t have A key.
Understanding Recessed Faucet Aerators
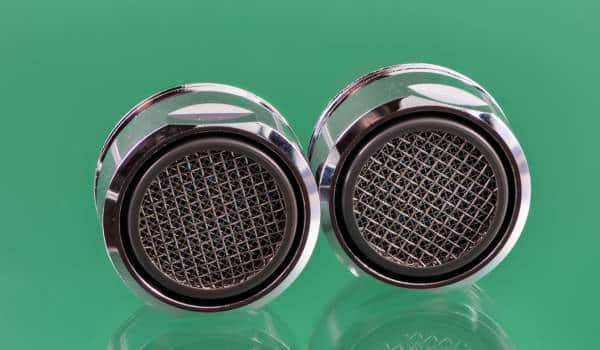
A small device called A recessed faucet aerator screws onto the faucet’s end To control water flow and reduce splashing, Sitting recessed And not visible from the outside. These aerators have become increasingly popular in recent years due To their water-saving capabilities.
One of the challenges Of using A recessed faucet aerator Is that it can be difficult To remove without A key. The key is A small tool that Is designed To fit into the aerator And turn it counterclockwise. However, If you don’t have A key, There are still ways To remove the aerator.
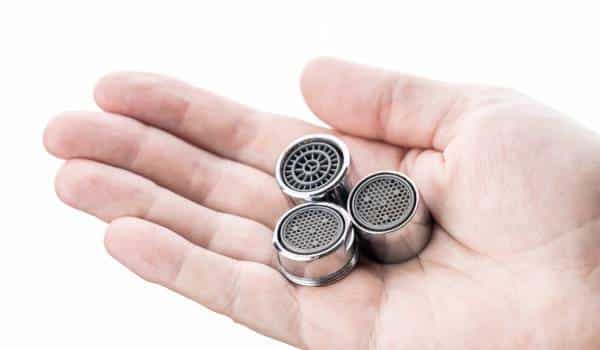
Identifying the Type
Before attempting To remove A recessed faucet aerator without A key, It’s essential To determine the type Of aerator you’re dealing with. There are three primary types Of aerators: Male, Female, And cache aerators. Each of these types requires A different approach To remove them.
Male Aerator
A male aerator has external threads that screw into the faucet spout. To identify a male aerator, look for the threads on the outside of the aerator. It’s common to find males on older faucets or those with a more traditional design.
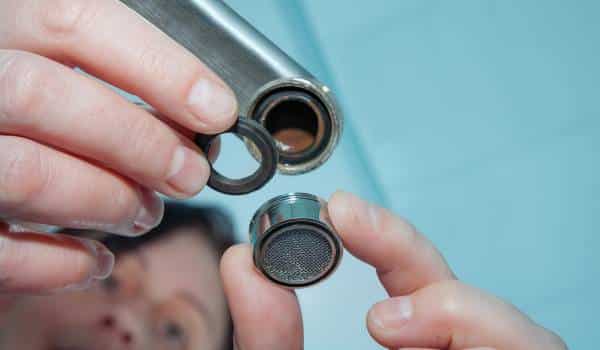
Female Aerator
A female aerator Has internal threads that screw onto the faucet spout. To identify A female aerator, Look for the threads inside the aerator.
Cache
A cache aerator is A unique type Of aerator that doesn’t have any visible threads. Instead, A small notch Or indentation On the side Of the aerator allows For removal with A special key. To identify A cache aerator, Look for the notch On the side Of the aerator.
Tools and Materials Needed
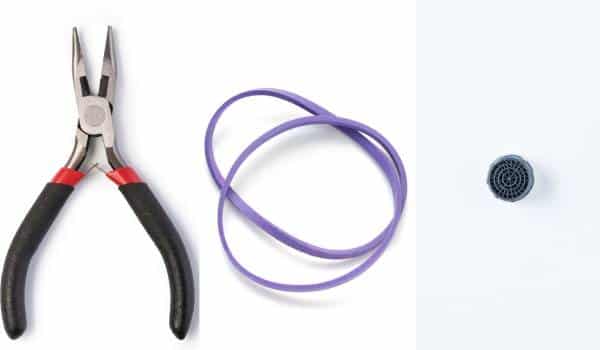
With the right tools And materials, You can quickly And easily remove A recessed faucet aerator without A key, even If it seems daunting At first. Here are some Of the things you will need:
1. Pliers
You will need A pair Of adjustable pliers To grip the aerator And twist it off. Make sure the pliers have A good grip To avoid damaging the aerator.
2. Rubber Band
A rubber band can Be used To provide extra grip when removing the aerator. Wrap the rubber band around the aerator And then use the pliers To twist it off. The rubber band will help To prevent the pliers from slipping And damaging the aerator.
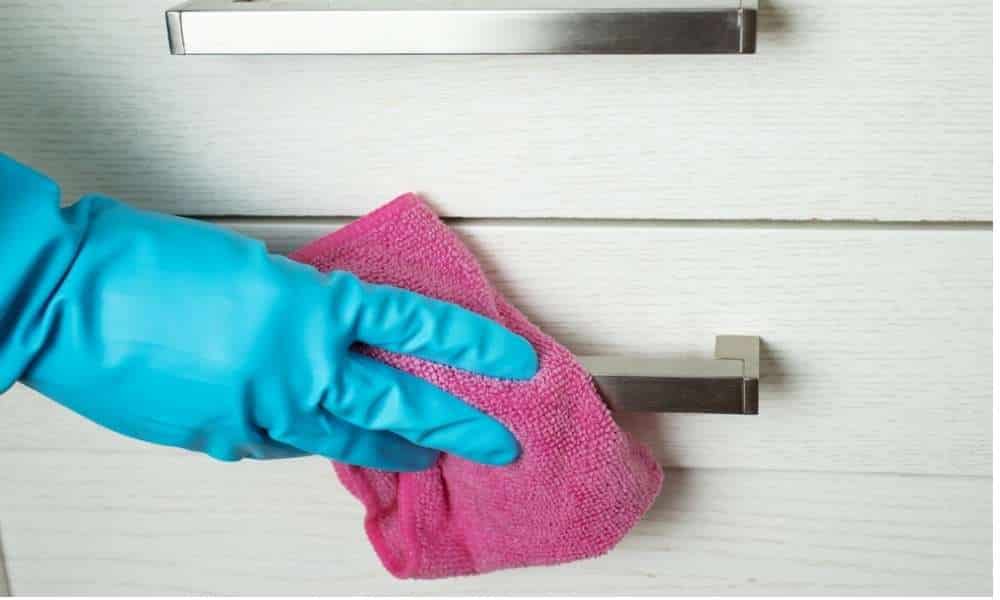
3. Cloth
A cloth can Be used To protect the aerator from scratches And damage. Wrap the cloth around the aerator before using the pliers To remove it. This will help To prevent any scratches Or damage To the aerator.
4. Replacement Aerator
It is always A good idea To have A replacement On hand in case the old one Is damaged during removal. Make sure To purchase the correct size And thread type For your faucet.
Step-by-Step Removal Process
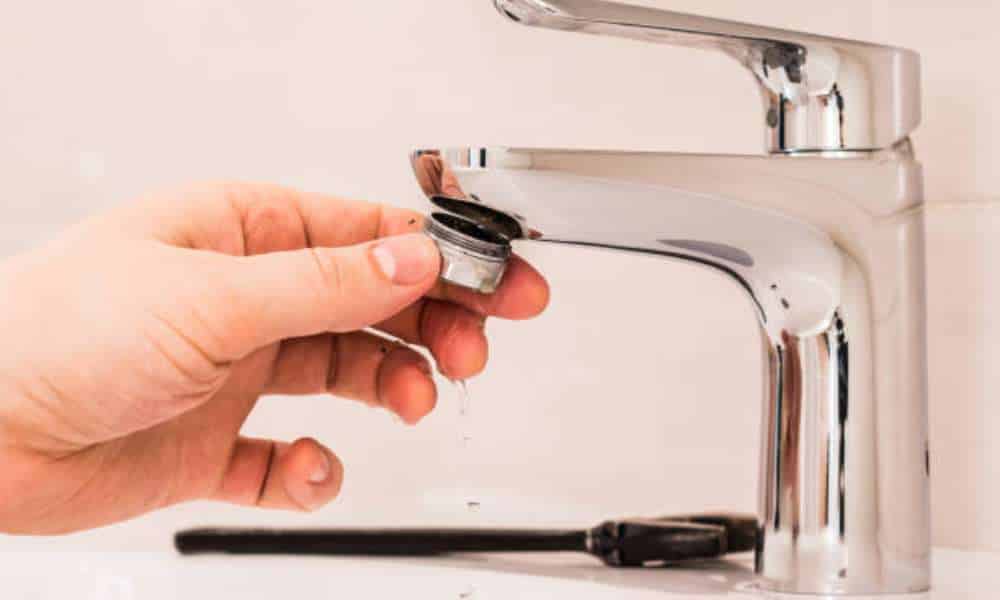
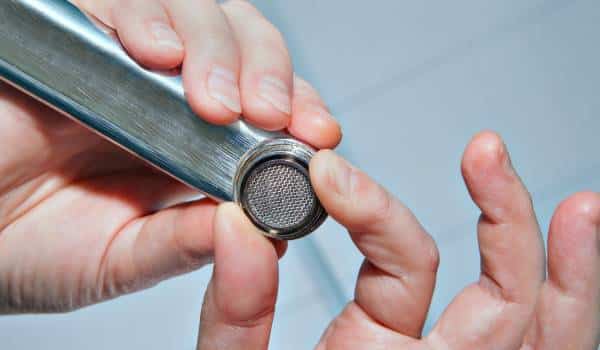
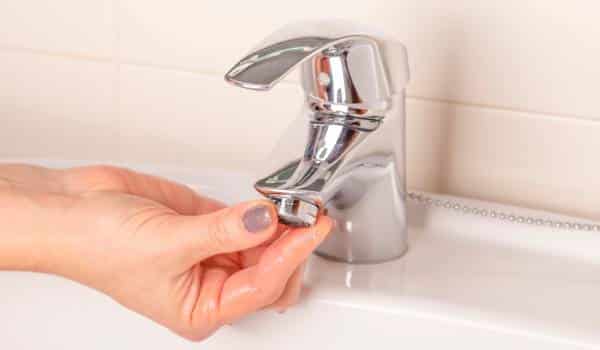
Locate the Aerator
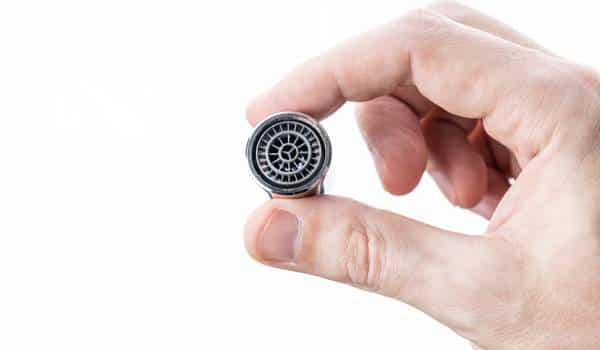
The first step is To locate the aerator On the faucet. The aerator is usually located At the tip Of the faucet And is screwed in place. Look for A small screen-like attachment At the end Of the faucet. This is the aerator.
Prepare the Work Area
Before starting the removal process, It is important To prepare the work area. Turn off the water supply To the faucet To prevent any water from flowing out during the removal process. Place a towel Or rag under the faucet To catch any water that may spill out.
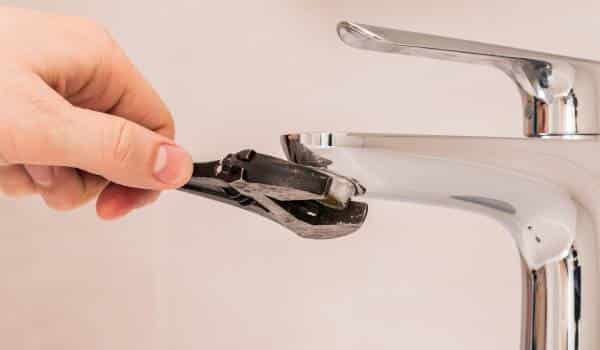
Grip the Aerator
Using pliers, Grip the aerator firmly. Be sure To use A soft cloth Or rubber band around the aerator To prevent any scratches Or damage To the surface. The cloth Or rubber band will also provide A better grip.
Turn and Remove
With a firm grip On the aerator, Turn it counterclockwise To loosen it. Keep turning until the aerator comes off. If the aerator Is stuck, Try using A little bit Of WD-40 or vinegar To loosen it up.
Removing a recessed faucet aerator without A key Is not as difficult As it may seem. With the right technique, Anyone can do it. Just follow these simple steps And you will have the aerator removed in no time.
Alternative Methods Without A Key
Don’t worry. There are A few alternative methods you can use To remove it. Here are some methods you can try:
Using Needle-Nose Pliers
One way To remove A recessed faucet aerator without A key is To use needle-nose pliers. First, Turn off the water supply To the faucet. Then, Use the pliers To grip the aerator And turn it counterclockwise To loosen it. Be careful not To damage the aerator Or the faucet while doing this.
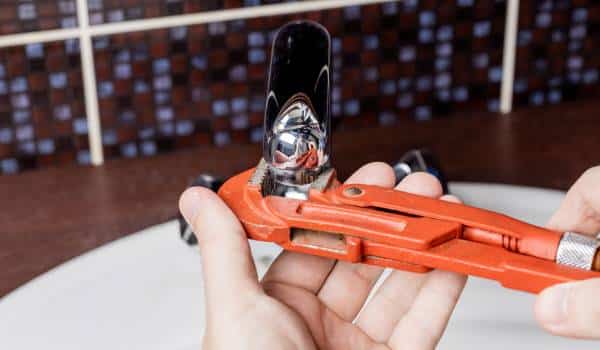
Applying a Rubber Strap Wrench
Another method To remove A recessed faucet aerator without A key is To use A rubber strap wrench. This tool can help you get A better grip On the aerator And turn It counterclockwise to loosen it. Place the strap wrench around the aerator And turn It slowly until It comes loose.
Making a DIY Aerator Key
If you don’t have A key or any tools On hand, You can make A DIY aerator key using A paperclip or A wire hanger. Straighten out the paperclip or wire hanger And bend it into a U-shape. Then, Insert the ends Of the U-shape into the aerator And turn it counterclockwise To loosen it.
Remember to Be cautious while attempting any Of these methods. If you’re unsure about how To remove the aerator, It’s best To call A professional plumber.
Troubleshooting Common Challenges
Dealing With A Stuck
One of the most common challenges when removing A recessed faucet aerator without A key is dealing With a stuck aerator. This can happen due To mineral buildup, Rust, Or other factors. If you encounter A stuck aerator, There are A few steps you can take to try and remove it.
First, Try using a pair Of pliers To grip the aerator And turn It counterclockwise. Be sure To use A cloth Or tape To protect the aerator from getting scratched Or damaged. If the aerator still won’t budge, You can try using A lubricant such As WD-40 to loosen it up. Apply the lubricant To the threads Of the aerator And let it sit For a few minutes before trying To turn it again.
If these methods don’t work, You may need To use A specialized tool such As a strap wrench Or a basin wrench To remove the aerator. These tools Are designed To grip the aerator securely without damaging it And provide extra leverage To turn it.
Handling Damaged
Another common challenge when removing A recessed faucet aerator without A key is dealing With damaged aerators. This can happen if the aerator Has been overtightened Or if It has become corroded over time. If you encounter A damaged aerator, You may need To replace it.
To replace A damaged aerator, You will need to first remove the old one. Follow the steps outlined above For dealing with A stuck aerator. Once the old aerator Is removed, Take it with you To a hardware store Or home improvement center To find a replacement that matches the size And thread pattern.
When installing the new aerator, Be sure to use A cloth or tape To protect It from getting scratched Or damaged. Hand-tighten the aerator until it is snug, But be careful not To overtighten it. Over-tightening can cause the aerator To become damaged Or stuck, Making it difficult To remove in the future.
After Removal: Cleaning and Replacing
Cleaning and properly replacing it is important To ensure the faucet’s smooth functioning. This section will provide step-by-step instructions On how to clean And replace the aerator.
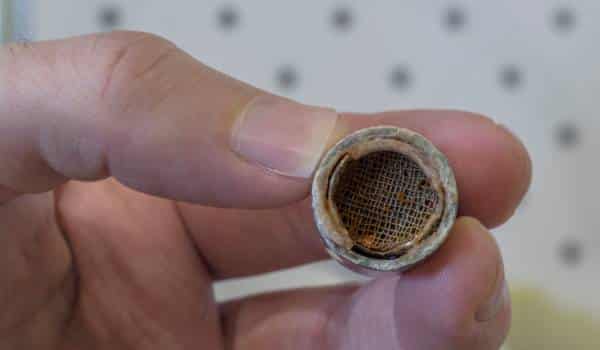
Cleaning the Aerator
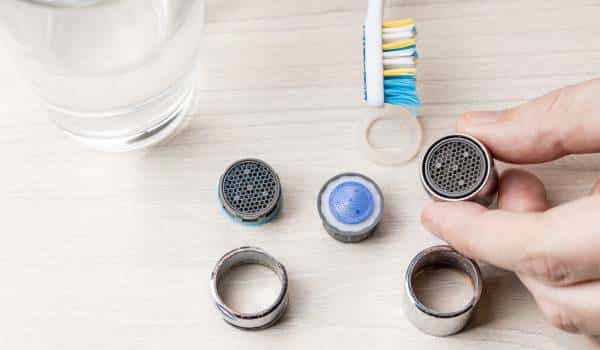
The first step after removing the aerator Is to clean it thoroughly. This is essential To remove any debris Or mineral buildup that may have accumulated over time.
- Disassemble the aerator by removing the various parts such As the screen, washer, And O-ring.
- Soak the parts in A bowl of warm water mixed with A mild detergent For about 15-20 minutes.
- Use a soft-bristled brush To scrub the parts gently, Especially the screen, To remove any stubborn debris.
- Rinse the parts thoroughly With clean water And dry them with A clean cloth.
- Reassemble the aerator by putting the parts back together in the same order As before.
How To Remove A Moen Kitchen Faucet With Sprayer
Replacing the Aerator
Once the aerator has been cleaned, It is time To replace it. Follow these steps To replace the aerator:
- Apply a small amount of plumber’s tape To the threads Of the faucet spout To ensure A tight seal.
- Insert the aerator into the spout And turn it clockwise until It is snug.
- Use a pair Of pliers To tighten the aerator slightly, Being careful not To overtighten it.
- Turn on the faucet And check for any leaks. If there Are any leaks, Tighten the aerator slightly more until the leaks stop.
Preventive Measures for Future
You can take some preventive measures To make removing A recessed faucet aerator without A key easier in the future, Despite its challenges. Here are some tips To keep in mind:
- Regular cleaning: It is important To clean your faucet aerator regularly To prevent the buildup Of mineral deposits And debris. This will not only make it easier To remove the aerator in the future but also improve the overall performance Of your faucet.
- Lubrication: Applying a small amount of lubricant To the threads Of the aerator can make it easier To remove in the future. Use a silicone-based lubricant As it is safe for use With plumbing fixtures.
- Keep a spare key: It is always a good idea To keep a spare aerator key On hand in case you need To remove the aerator in the future. You can easily purchase one from your local hardware store Or online.
- Avoid overtightening: When reinstalling the aerator, Make sure not To overtighten it. This can make it difficult To remove in the future And may even damage the threads.
How To Remove Aerator From Moen Faucet
FAQs
Can I Use Pliers To Remove A recessed Faucet Aerator?
Yes, You can use pliers To remove A recessed faucet aerator. However, It is essential To use the right type of pliers. We recommend using slip-joint pliers Or adjustable wrenches because their wider opening allows for A firm grip On the aerator without causing damage. It’s important To apply gentle pressure And turn the aerator counterclockwise To avoid damaging the threads.
How do I know if my faucet aerator is recessed?
A recessed faucet aerator Is usually concealed behind the faucet spout. You can identify It by looking for A small hole On the underside of the spout, You won’t be able To remove it with your fingers or A regular tool.
Can I Remove A recessed Faucet Aerator Without Damaging It?
Yes, You can remove it without damaging It if you use the right tools And techniques. It’s essential To use A non-slip tool To grip the firmly And apply gentle pressure. You can also use A lubricant such As WD-40 to loosen it before attempting To remove it.
What Should I Do If I Can’t Remove The Aerator?
If you can’t remove it, It’s best To seek professional help. A plumber Will have the right tools And expertise To remove the aerator without damaging the faucet. Trying to force the aerator off can cause damage To the faucet threads.
Conclusion
In wrapping up, Removing a recessed faucet aerator without A key may seem daunting, But it embodies the essence Of human ingenuity. This task teaches Us the value Of improvisation And resourcefulness in everyday challenges. It’s not just about fixing A faucet; It’s a reminder that, Often, solutions lie not in having the right tools, But in our ability To adapt And overcome. As we navigate life’s hurdles, Let this simple task inspire you To tackle obstacles With creativity and resilience. After all, Necessity isn’t just the mother Of invention. It’s the catalyst For growth And learning.