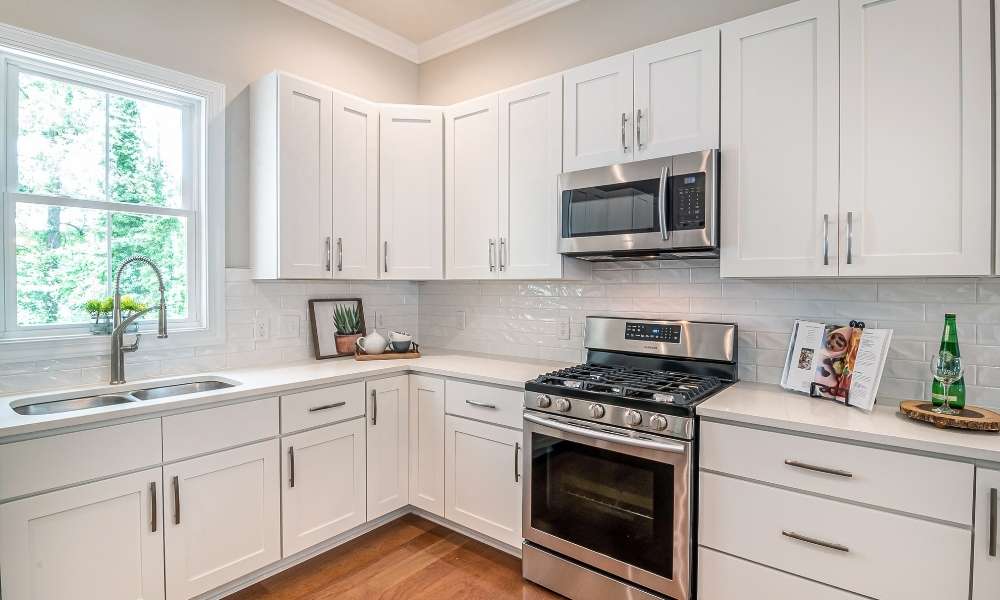
As winter rolls in And the temperature drops, It’s Crucial To protect your outdoor faucet from freezing And causing expensive damage. But what if you don’t have A shut-off valve? Don’t fret! In this article, We’ll show you foolproof methods on how to winterize your outdoor faucet without A shut-off valve. From insulating the pipes To draining the water completely, You’ll be equipped with all the tips And tricks To ensure your faucet survives even the harshest winter storms.
What Is An Outside Water Shut-off Valve?
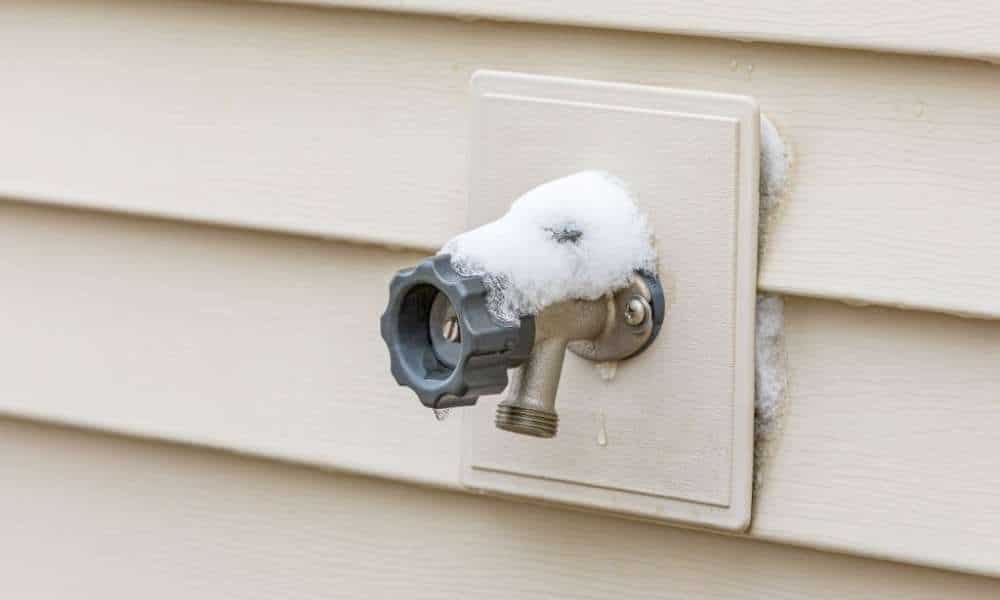
A water shut-off valve outside Is an essential part Of the plumbing system of A house. It functions as A control To stop the water flow into outdoor fixtures such As faucets And garden hoses. This valve Is able To be used for repairs And maintenance And also stops freezing in winter by separating the plumbing lines outside. Being able To locate And control this valve can Be vital for homeowners As it guards against plumbing problems And guarantees the long-term durability Of water fixtures For outdoor use.
Why Winterizing Your Outdoor Faucet Is Important
The process Of winterizing your outdoor faucet Is vital for many important reasons. It first and foremost can prevent freezing during frigid winter days. If the water in the faucet or in the pipes freezes, it can expand and could cause ruptured pipes or damaged fixtures. This can lead to costly repairs as well as water damage to your house.
In addition, having your tap winterized will ensure that it is in good condition to be ready for the season. Spring and Summer. If you take your time in preparing it to face winter months, you can extend its life and decrease the possibility of leaks and problems when you require it in the future. All in all, Winterizing your faucet outside Is an easy And effective way To secure your property, reduce the cost of repairs, And provide that you have access To water when you require it the most.
Materials You’ll Need
- Insulating Cove
- Outdoor Faucet Cover
- Garden Hose
- Bucket or Container
- Tape or Zip Ties
- Screwdriver or Wrench
- Pipe Insulation (Optional)
- Plastic Bag or Plastic Wrap (Optional)
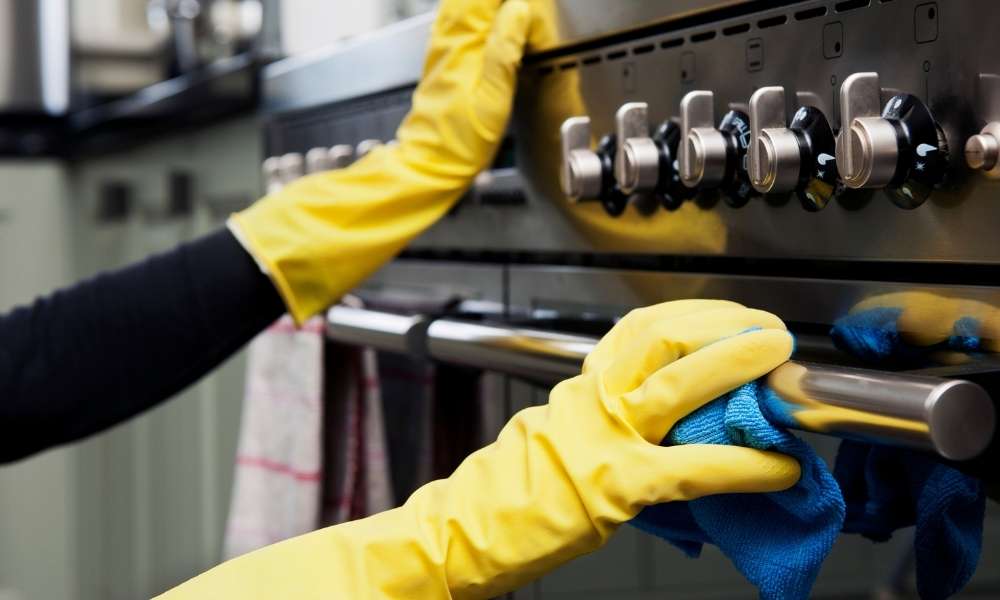
01. Switch off the main water and Remove The Faucet
The process Of shutting off mains water supplies And draining your faucet is A crucial step To ensure the safety Of your plumbing outside during winter seasons. Start by finding the valve that shuts off water To your home which is usually found inside the basement or in the utility room. Utilizing an adjustable wrench, turn the valve clockwise to turn out the supply of water to the entire house. Then, go outside to the tap, and unhook any other accessories. Unlock the faucets completely So that any remaining water drains completely. This stops water from freezing inside pipes, Thus reducing the possibility of damages And costly repairs if the temperature decreases.
02. Disconnect And Insulate The Hose
Start by gently detaching the garden hose Or any other accessories, Taking care To remove all water To prevent freezing And potential damage. To further protect against frigid temperatures, Consider employing hose insulation or A hose bib cover. These protective measures wrap around the tap and hose, Providing an additional layer of insulation To shield them from the harsh winter chill.
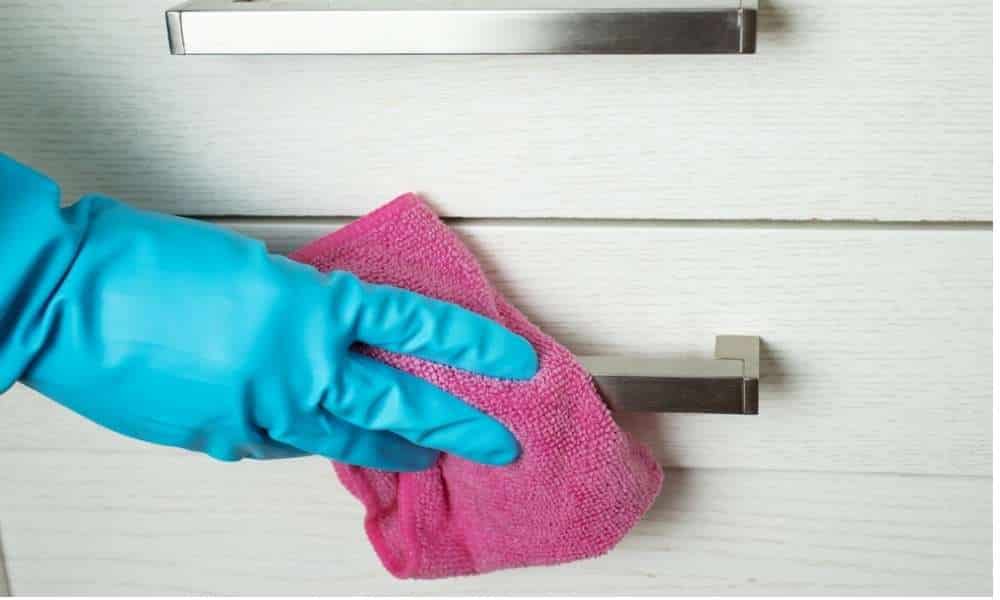
03. Install A Frost-free Faucet Cover
These covers, Designed specifically For outdoor faucets, Are readily available At most hardware stores. To install one, Simply slide the cover over the outdoor faucet And ensure it extends down To cover any exposed pipes. Once securely in place, These covers act as An insulating shield, Helping to maintain A stable temperature around The tap And preventing freezing. This proactive measure plays A significant role In safeguarding Your outdoor plumbing And reducing The risk Of costly winter-related damage.
04. Insulate The Exposed Piping
It is essential to insulate exposed pipes to keep them from freezing and perhaps rupturing during the chilly winter months. Pipe insulation sleeves, which are easily accessible at most hardware stores, can be used. These sleeves should be easily slipped over the exposed pipes, making sure to cover the full length. Your outdoor plumbing system is less likely to sustain damage thanks to the additional layer of insulation that helps to maintain a constant temperature. By doing this preventative measure, You can make sure that will last And function even during the worst winter weather.
05. Apply Heating Cable (optional)
You have the option To apply A heating cable To further protect your outdoor faucet And plumbing. This step Is especially useful For regions with extremely cold winters. Heating cable, Also known As heat tape Or pipe heating cable, Can be wrapped around exposed pipes And faucets. It provides A controlled source Of heat To prevent freezing. When temperatures drop, The heating cable activates, Ensuring that water in the pipes And around the faucet remains above freezing point. While this step Is optional, It adds An extra layer Of security To your winterization efforts, Reducing the risk Of frozen pipes And potential damage To your outdoor plumbing system.
06. When To Call A Pro
Knowing when To call A professional plumber Is Crucial For maintaining the integrity Of your outdoor plumbing system. It’s prudent To seek expert assistance In situations like severe pipe damage, Evident leaks, Or A complete lack Of water flow from the outdoor faucet despite winterization efforts. Additionally, If your plumbing system Is aging Or repeatedly experiences problems, A professional assessment can help determine if upgrades Or replacements are necessary. By recognizing these signs And acting promptly, You can prevent potential water damage And ensure the effective And safe operation Of your outdoor plumbing.
07. Tips For Winterizing Your Outdoor Faucet
Preparing For winter Is essential To prevent freezing And costly damage. Start by turning off the main water supply And disconnecting And draining any attached hoses. Keep the faucet fully open To allow water To escape, And insulate it using A frost-free faucet cover. If you have exposed pipes, Insulate them too. In extremely cold climates, Consider using A heating cable For added protection. Regularly inspect for leaks throughout the winter, And when in doubt, Consult a professional plumber. These tips will help ensure your tap survives the winter unscathed, Saving you from potential headaches And repair expenses.
Conclusion
Winterizing an outdoor faucet without using a shut-off valve is An easy and essential task that can prevent costly repairs. By following the steps outlined here, You can protect it from freezing temperatures while also avoiding potential plumbing damage. Be sure to remove hoses, insulate the faucet, and drain any remaining water; taking these precautions now will save time, money, And stress down the road – take action today and ensure your faucets Are winterized before winter sets in.
Faqs
Are shut-off valves necessary?
Yes, shut-off valves are essential in A plumbing systems. They enable emergency control, Simplify maintenance, Aid in winterization, And promote water conservation. These valves allow For quick isolation of specific fixtures, Preventing water damage, And making routine tasks more manageable.
How do I turn off my outside faucet for winter?
- Locate and identify the main water shut-off valve for your home.
- Turn the valve clockwise (right) To completely close off the water supply.
- Disconnect and drain any hoses connected To the faucet To prevent freezing.
- Open the fully To allow any remaining water To drain out.
- Install a frost-free cover To insulate and protect the faucet from freezing temperatures.
What is the best way to winterize?
The most effective method To winterize involves several steps: First, Shut off the main water supply, Then disconnect and drain hoses. Next, fully open the faucet To let water drain, And insulate it with A frost-free cover. Insulate exposed pipes And consider heating cables in extremely cold areas. Regular leak checks are essential.